Internet
Connecting to LVUSD WiFi
Login Credentials
Username: First part of your email address (If your email is testingtim@lvusd.org, enter only testingtim).
Password: Your LVUSD email password
-
Android
- Open Settings and navigate to the Wi-Fi tab
- Select “LVUSD” from the list of available networks
- For “CA certificate”, choose “Trust on First Use”
- For “Identity” & “Anonymous Identity” enter your LVUSD username
- For “Password” enter your LVUSD email password
- Press “Connect”
-
iOS / iPad
- Open Settings and navigate to the Wi-Fi tab
- Select “LVUSD” from the list of available networks
- For “Username” and “Password” enter your username and password as explained above
- Press “Connect”
-
Ubermix
- Open the system menu in the upper-right and click on the WiFi option
- Click on “Select Network”
- Select “LVUSD” from the list of available networks and press “Connect”
- For “Username” and “Password” enter your username and password as explained above
- Press “Connect”
-
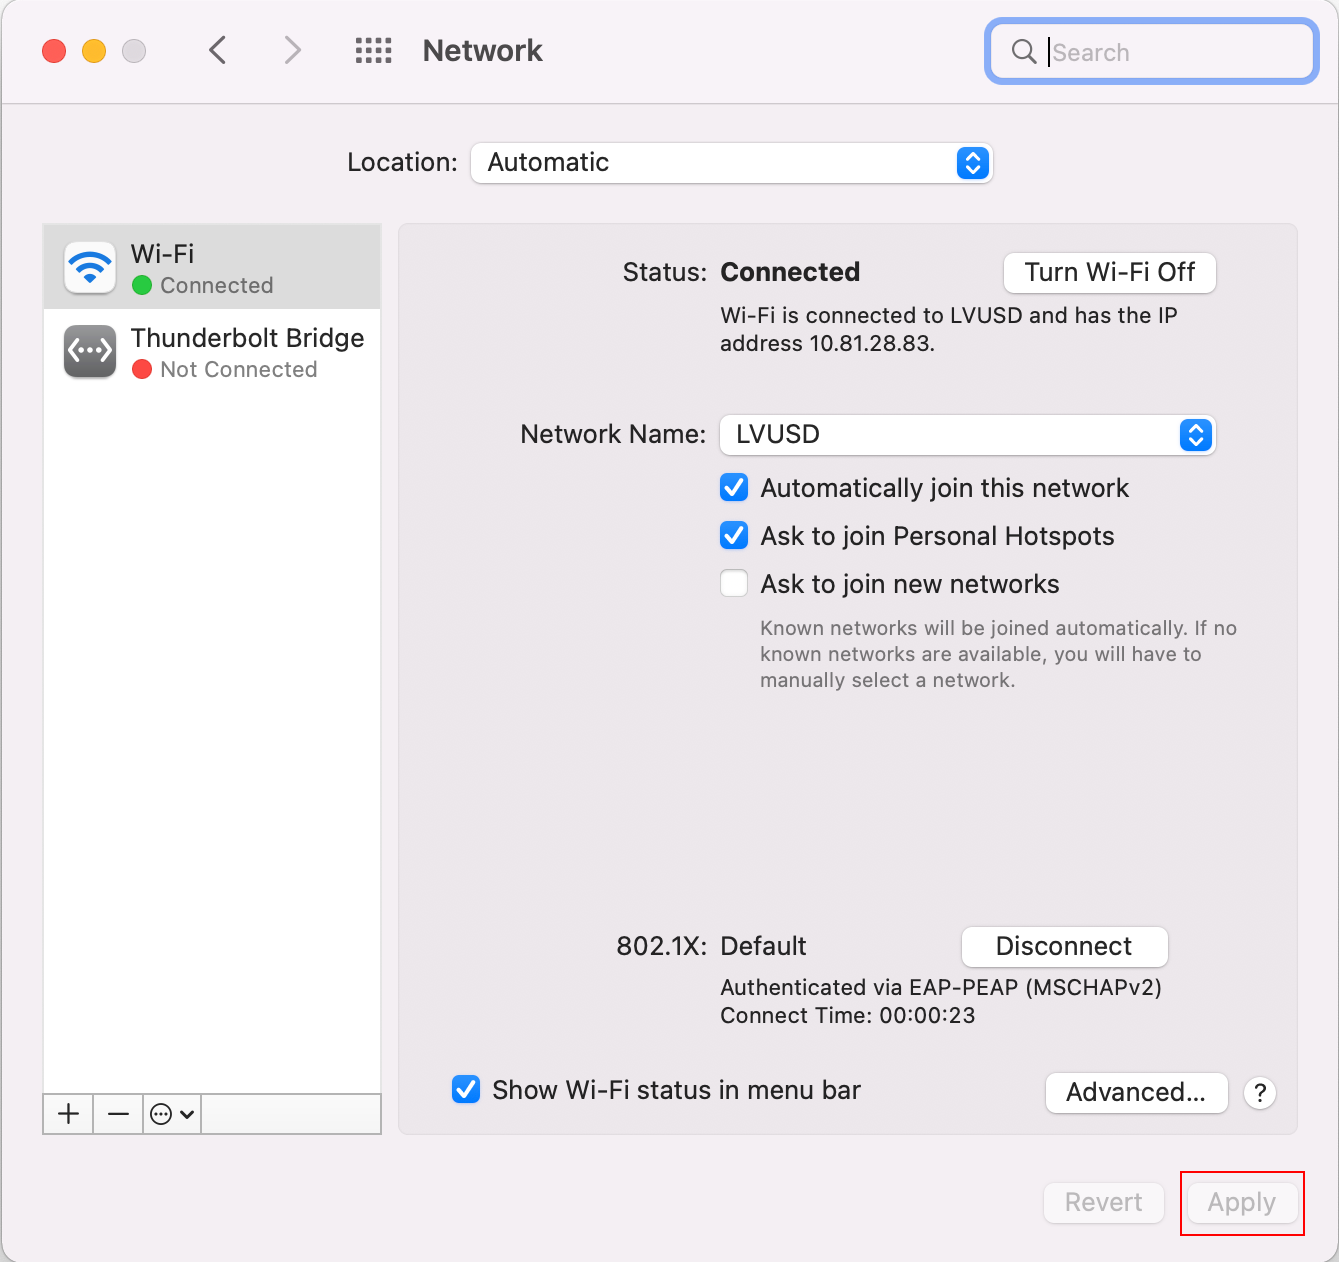
macOS
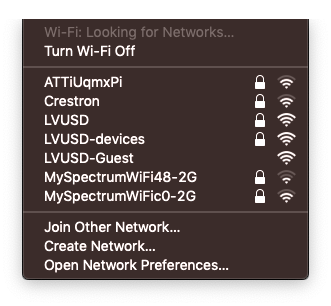
- Select the “LVUSD” network in Wifi settings on your computer.
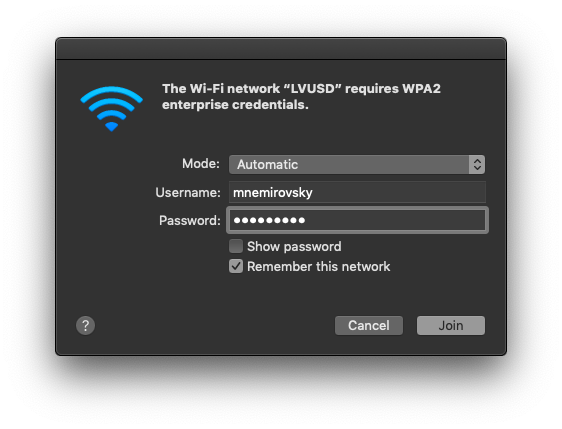
- When prompted for username and password, enter your username and password
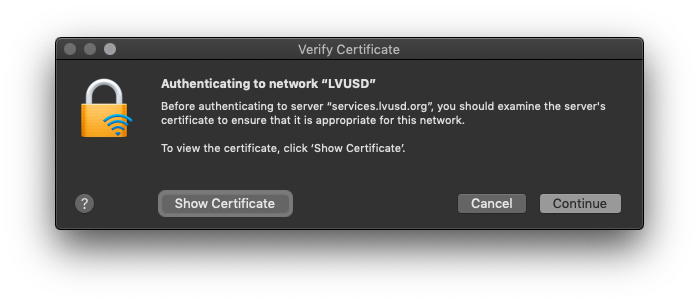
- Simply continue when prompted about network authentication
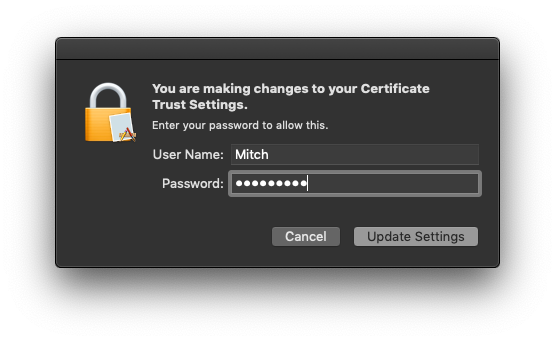
- You will be asked for your computer login next (This is NOT your LVUSD credentials)
-
Windows
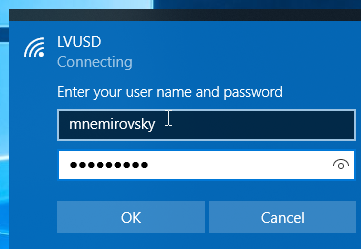
- Select the “LVUSD” network in Wifi settings on your computer.
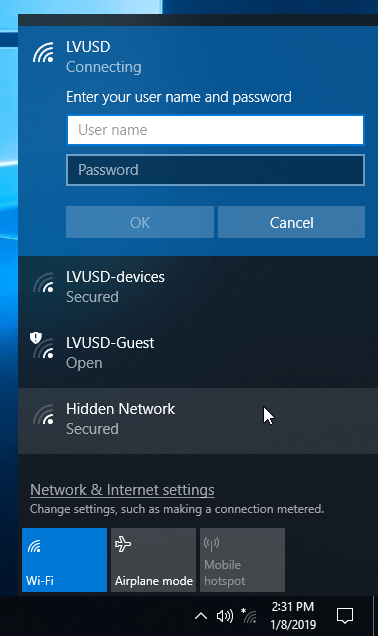
- When prompted for username and password, enter your username and password as explained above
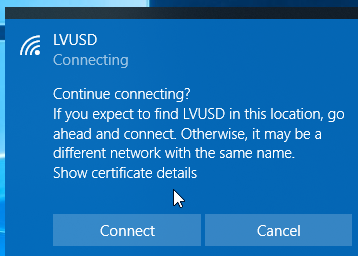
- Simply continue when prompted about network authentication
Troubleshooting
-
macOS
Forget LVUSD-Guest WiFi
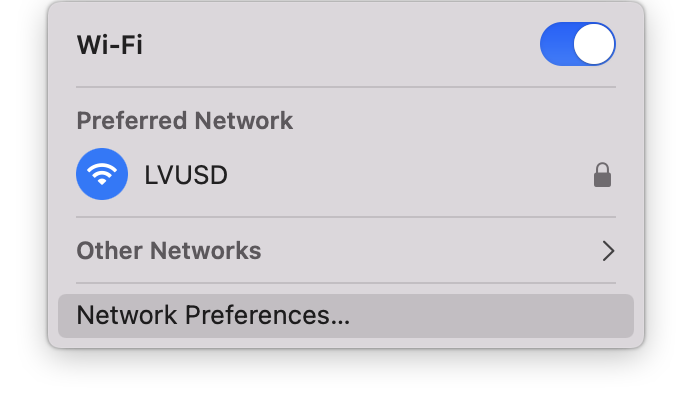
- Click on the WiFi icon on the top menu bar
- Select “Open Network Preferences”
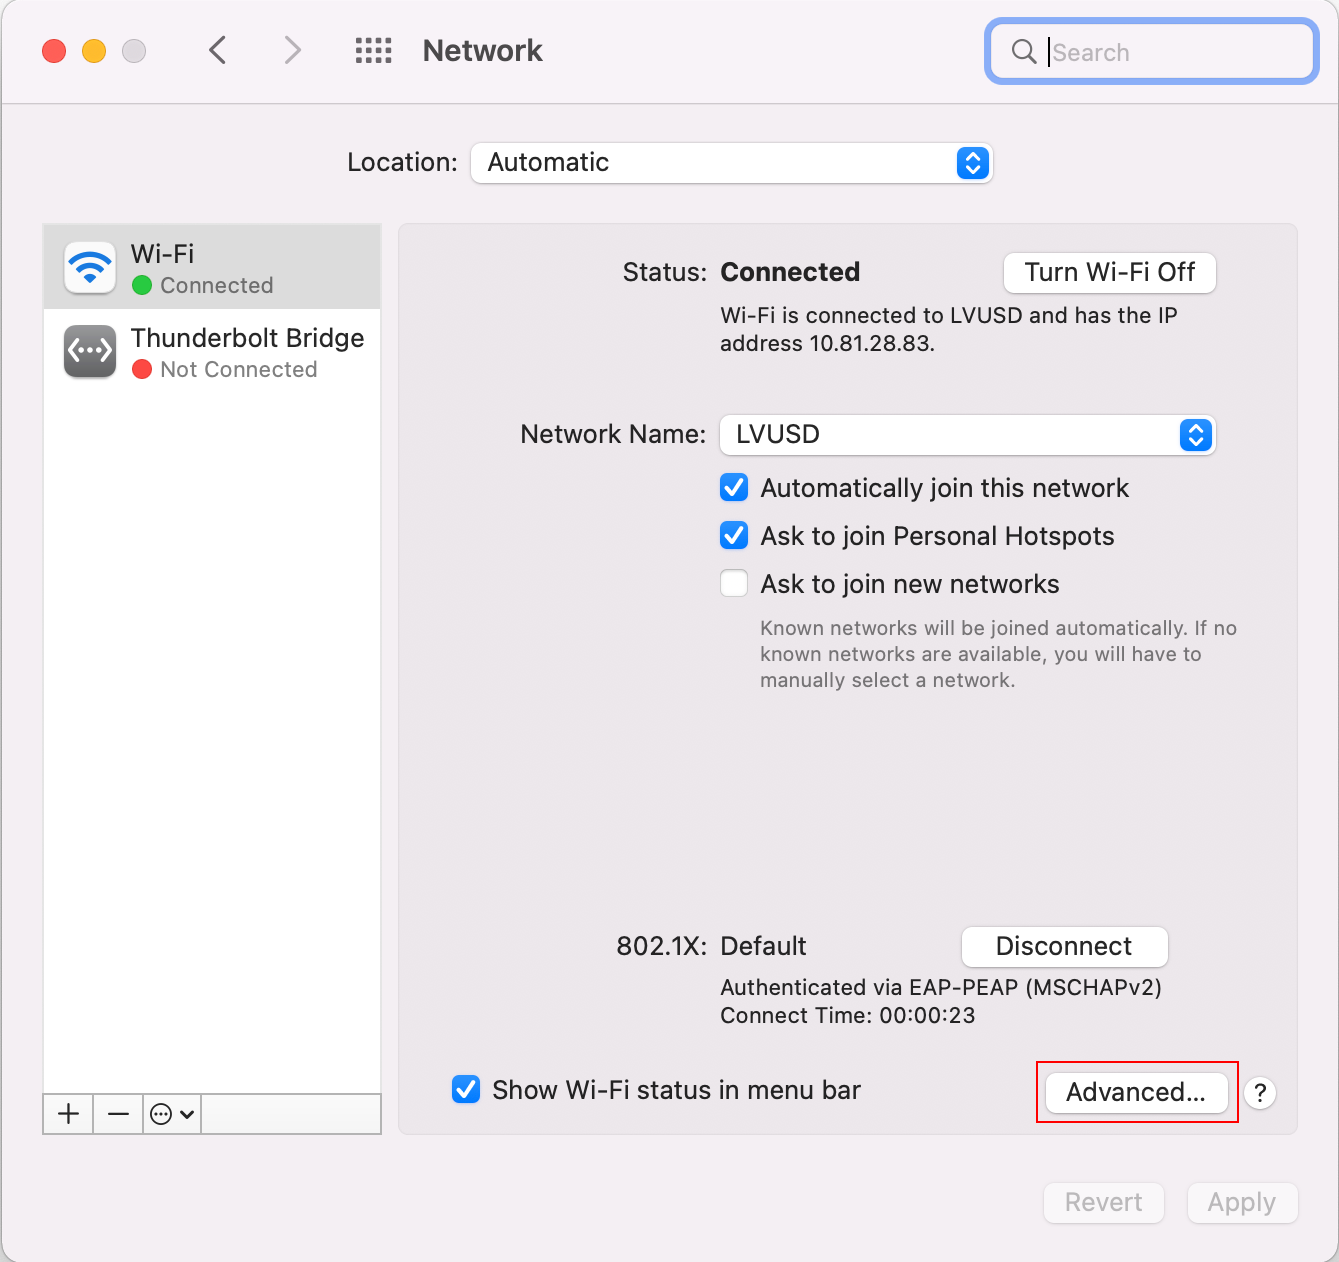
- Navigate to “Advanced”
- Select “LVUSD-Guest” if it’s on the list, and click the “-“ button to remove it
- Close the window, click “Apply” in the Network settings window, and restart WiFi
Reset DNS
Example:
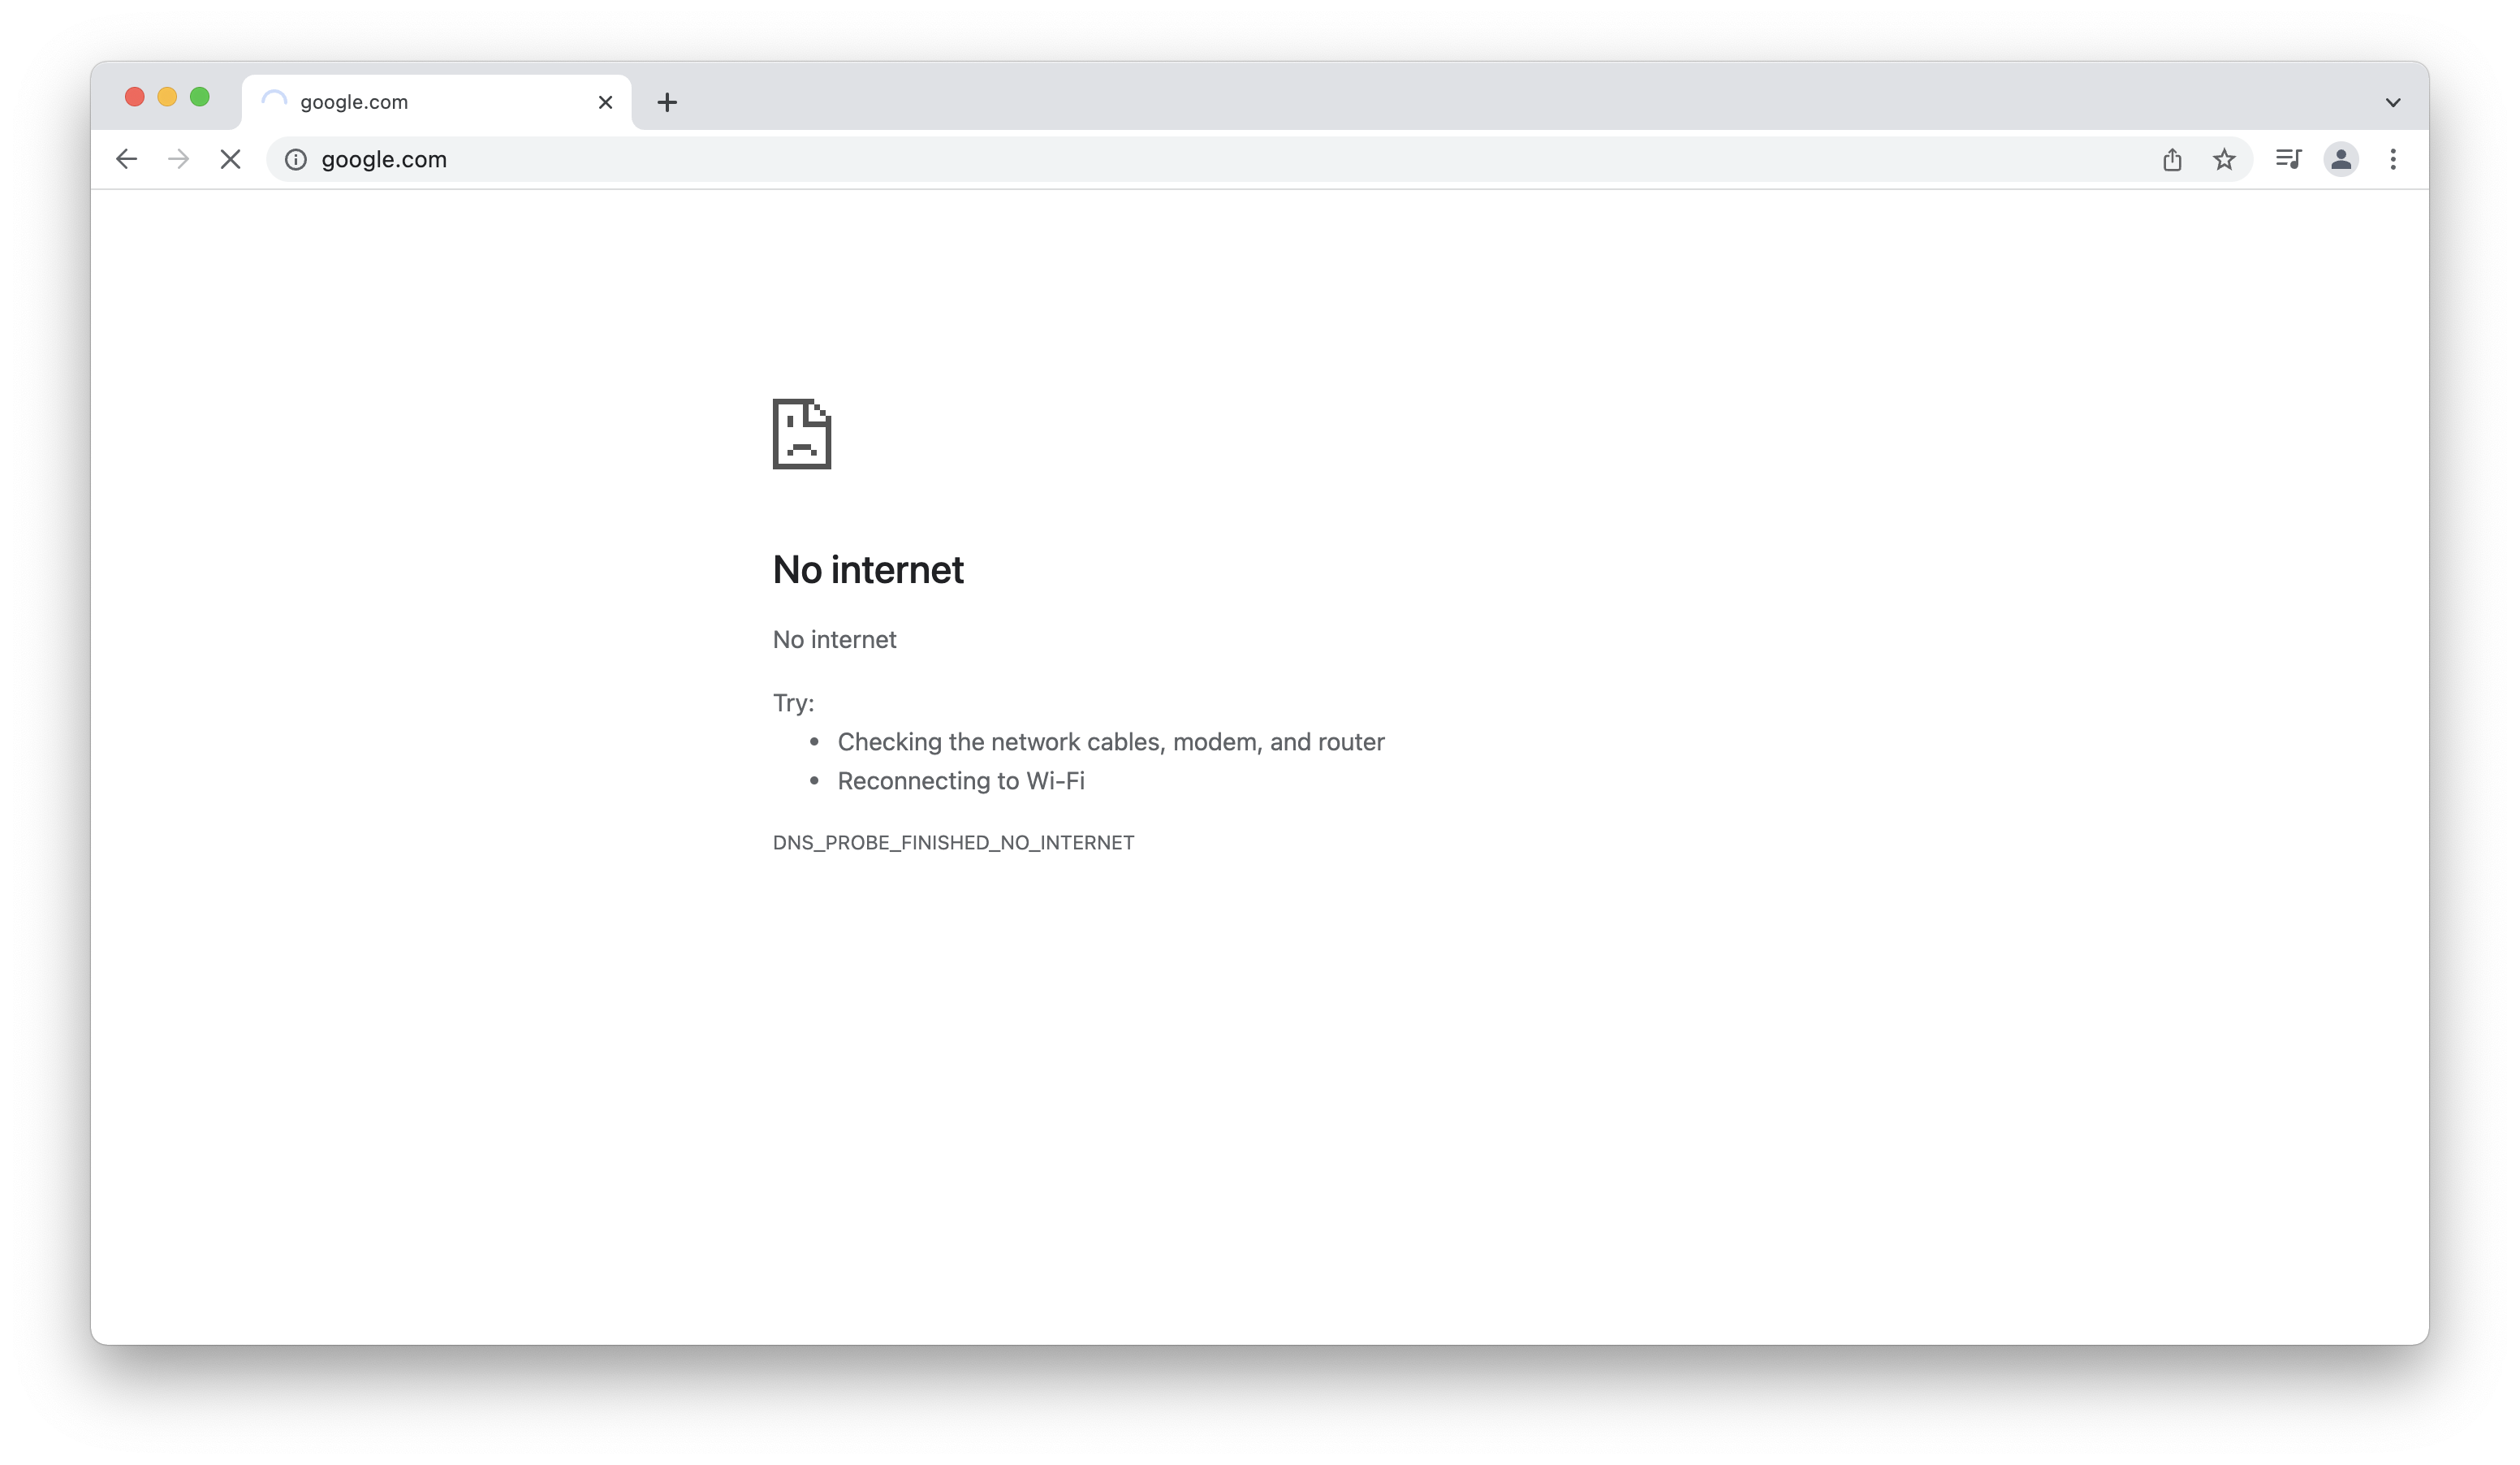
To resolve this issue, follow the below instructions to reset DNS settings in Network Preferences:
-
Open Network Preferences from the WiFi menu
-
Enter the Advanced menu
-
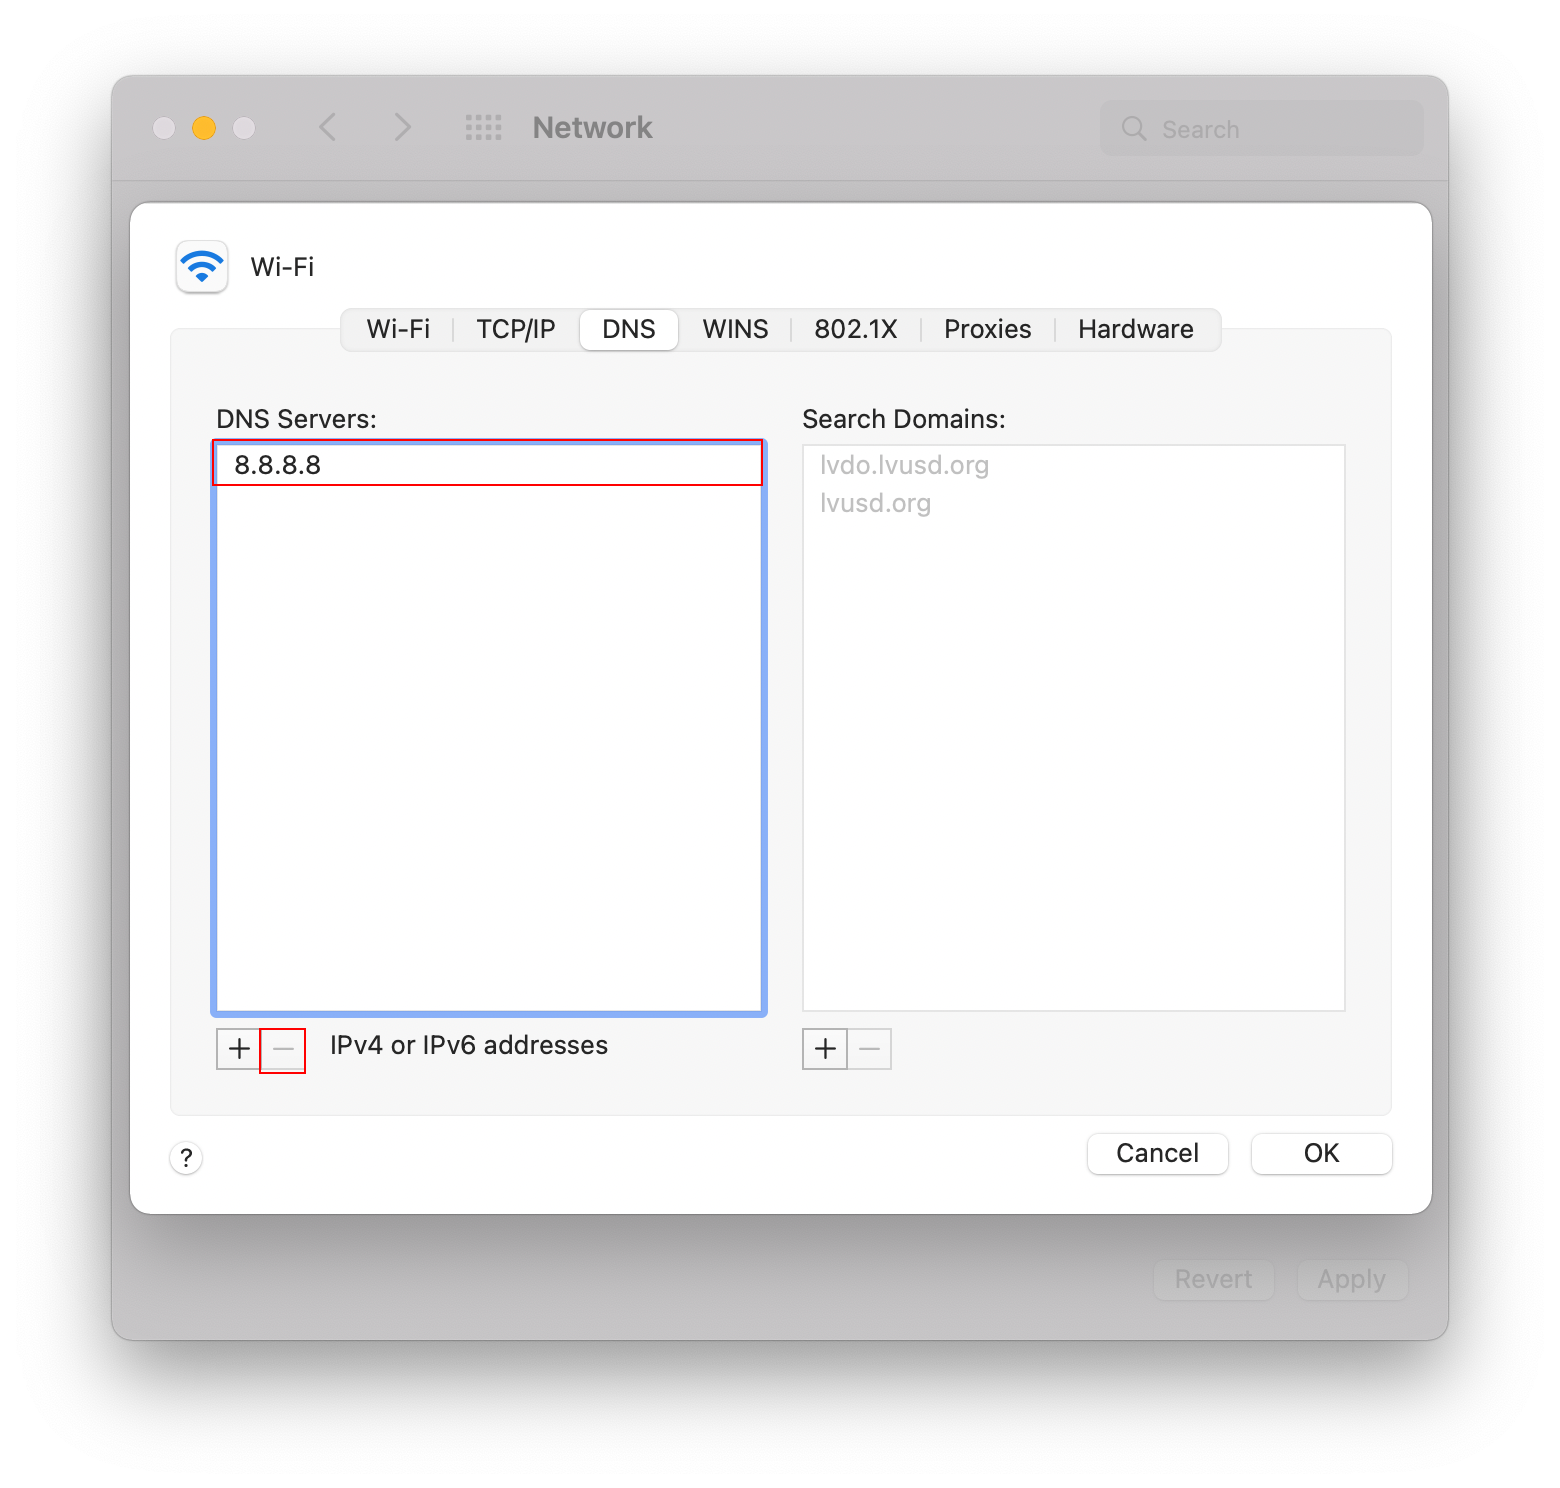
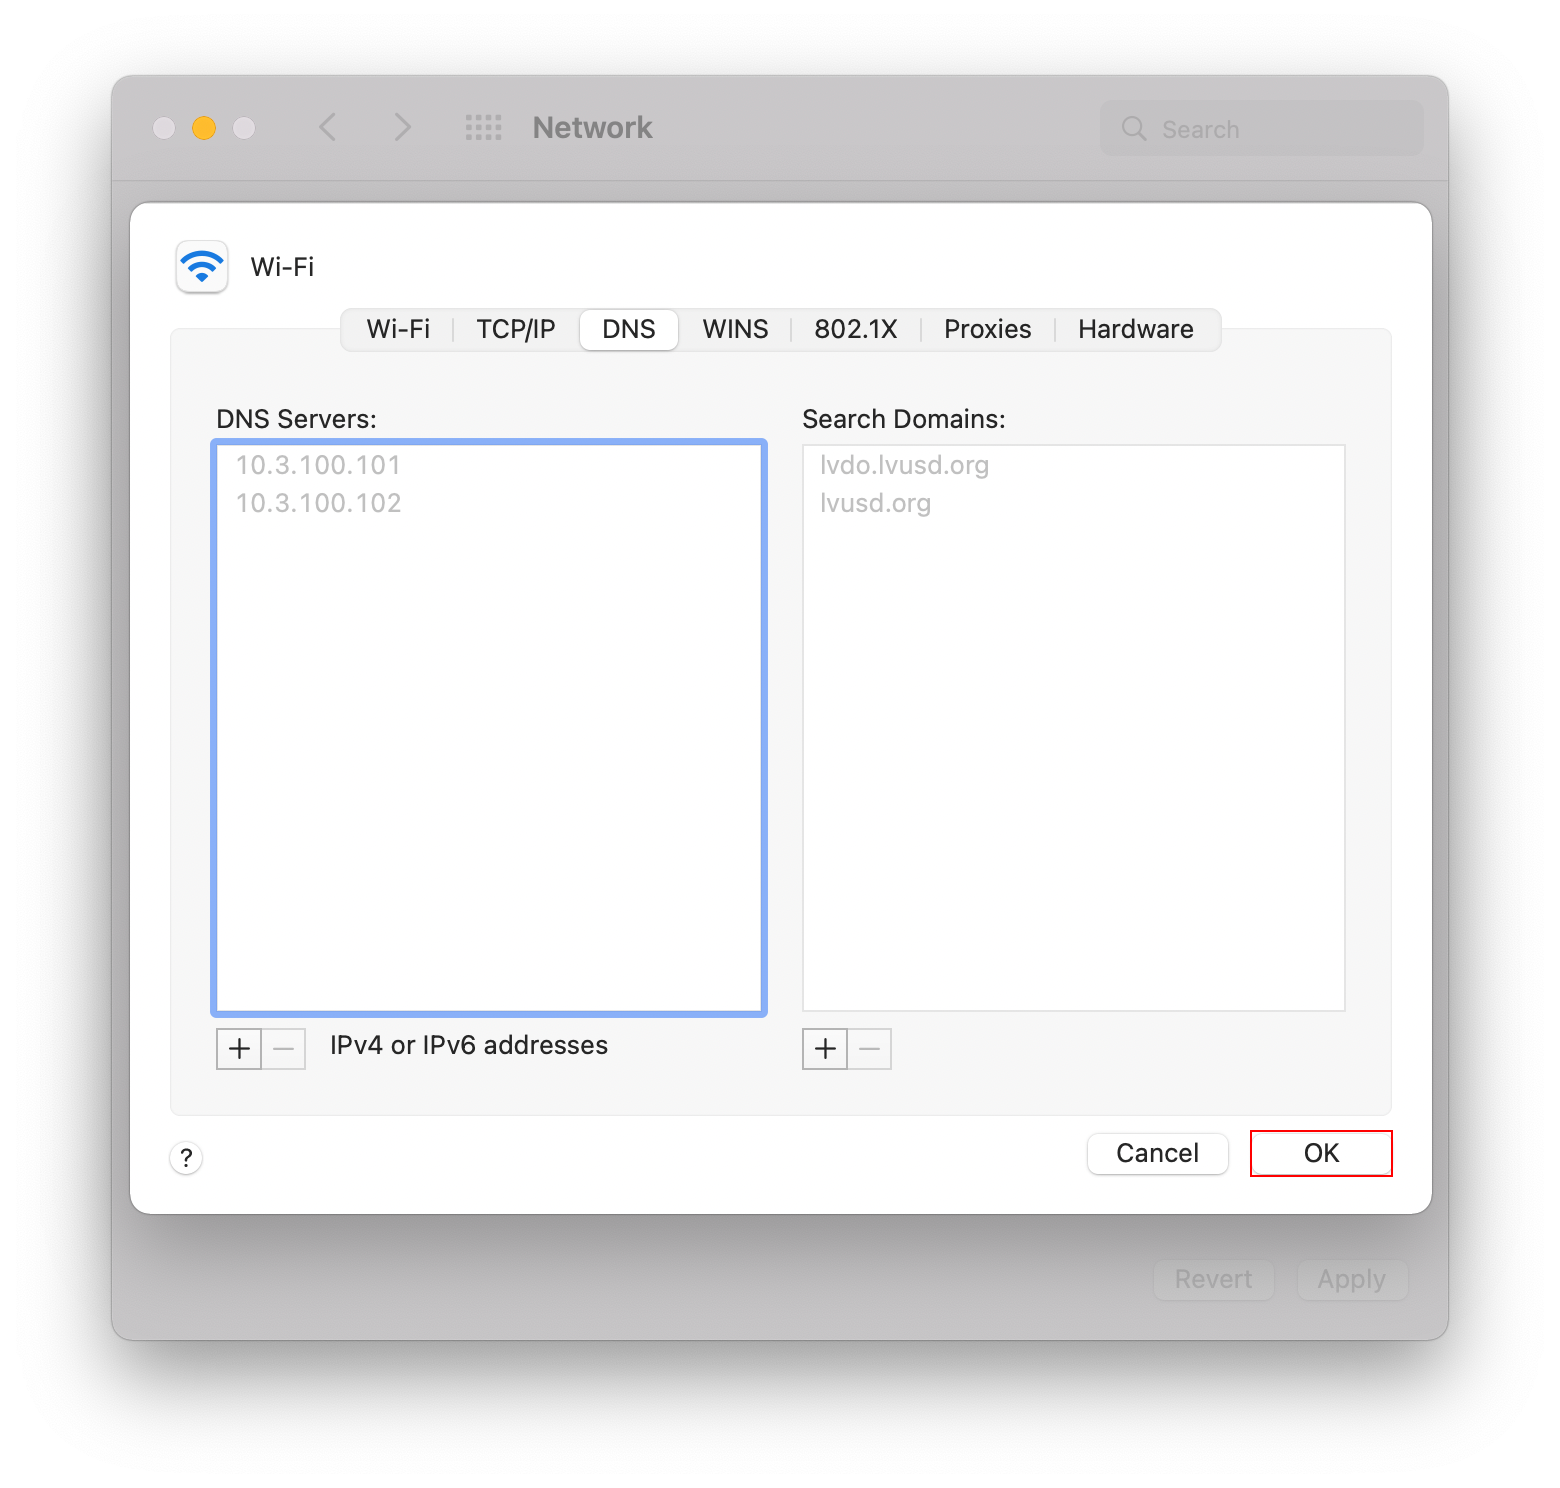
Navigate to the DNS tab, select the erroneous entry (here it is 8.8.8.8), press the “ - “ button to delete it and reset to the correct LVUSD DNS options, then press “OK” to save changes
Wrong:
Correct:
-
On the main Network Preferences screen, press “Apply” to save all the changes
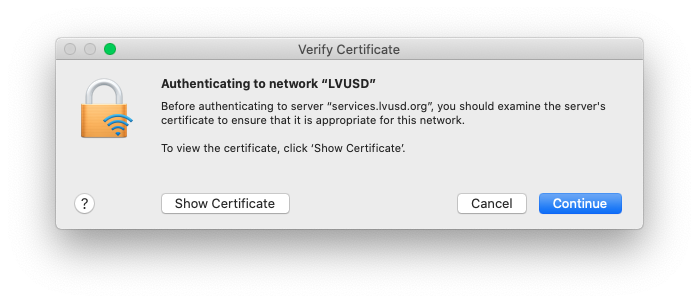
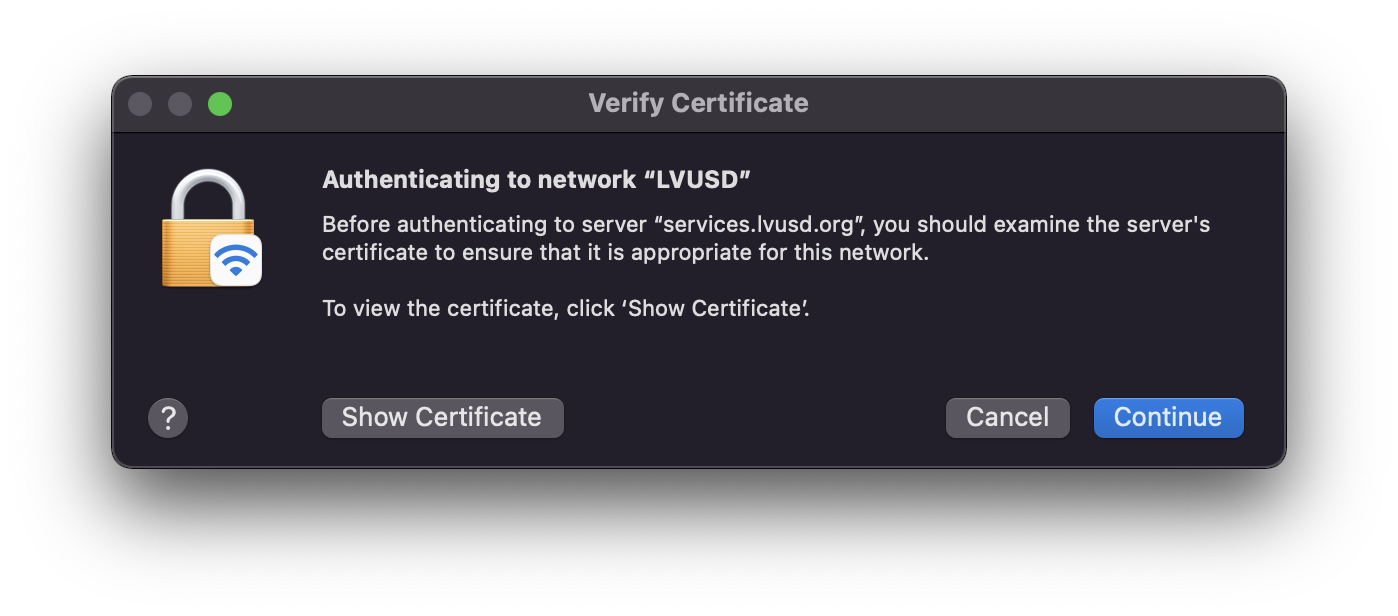
Verify Certificate
-
When connecting to LVUSD WiFi, a window may appear asking you to “Verify Certificate”
-
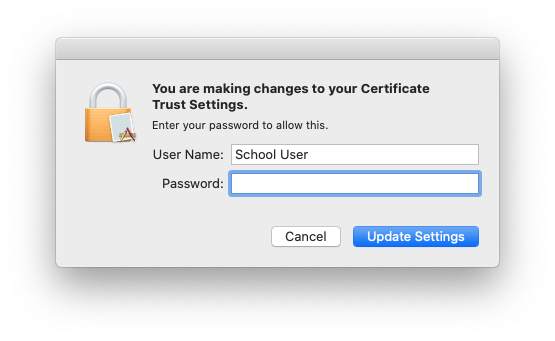
To complete the connection process, click on “Continue”, then enter your computer login username and password in the window that appears, then click on “Update Settings”

-
Windows
Forget LVUSD-Guest WiFi
- Click on the WiFi icon in the taskbar
- Select “Network & Internet Settings”
- Click on “Manage known networks” under “Wi-Fi” (the first network adapter, if your device has multiple)
- Select “LVUSD-Guest” it it’s on the list, and click “Forget” (NOTE: If you have multiple network adapters, do the same for “Wi-Fi 2” and any others)
- Close the window and restart WiFi
Update Network Profile
- Click on the WiFi/Network icon in the taskbar
- Click on “Properties” under your currently connected network in the list
- Make sure Private is selected under “Network profile”, not Public