App Management
Installing Apps
-
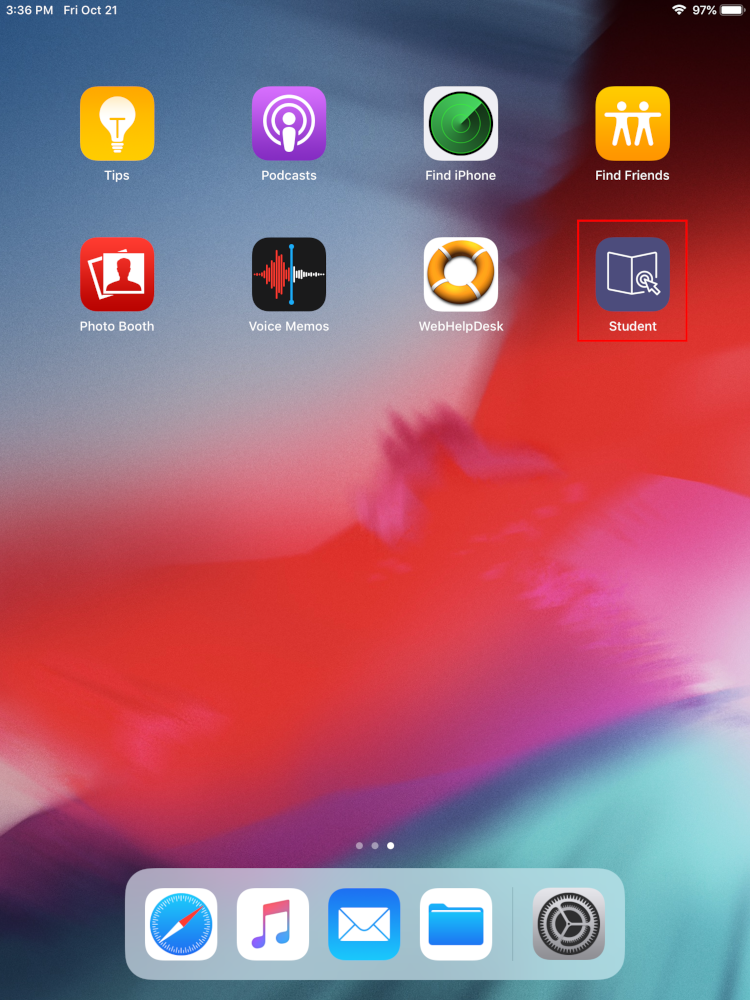
Open the “Student” app
-
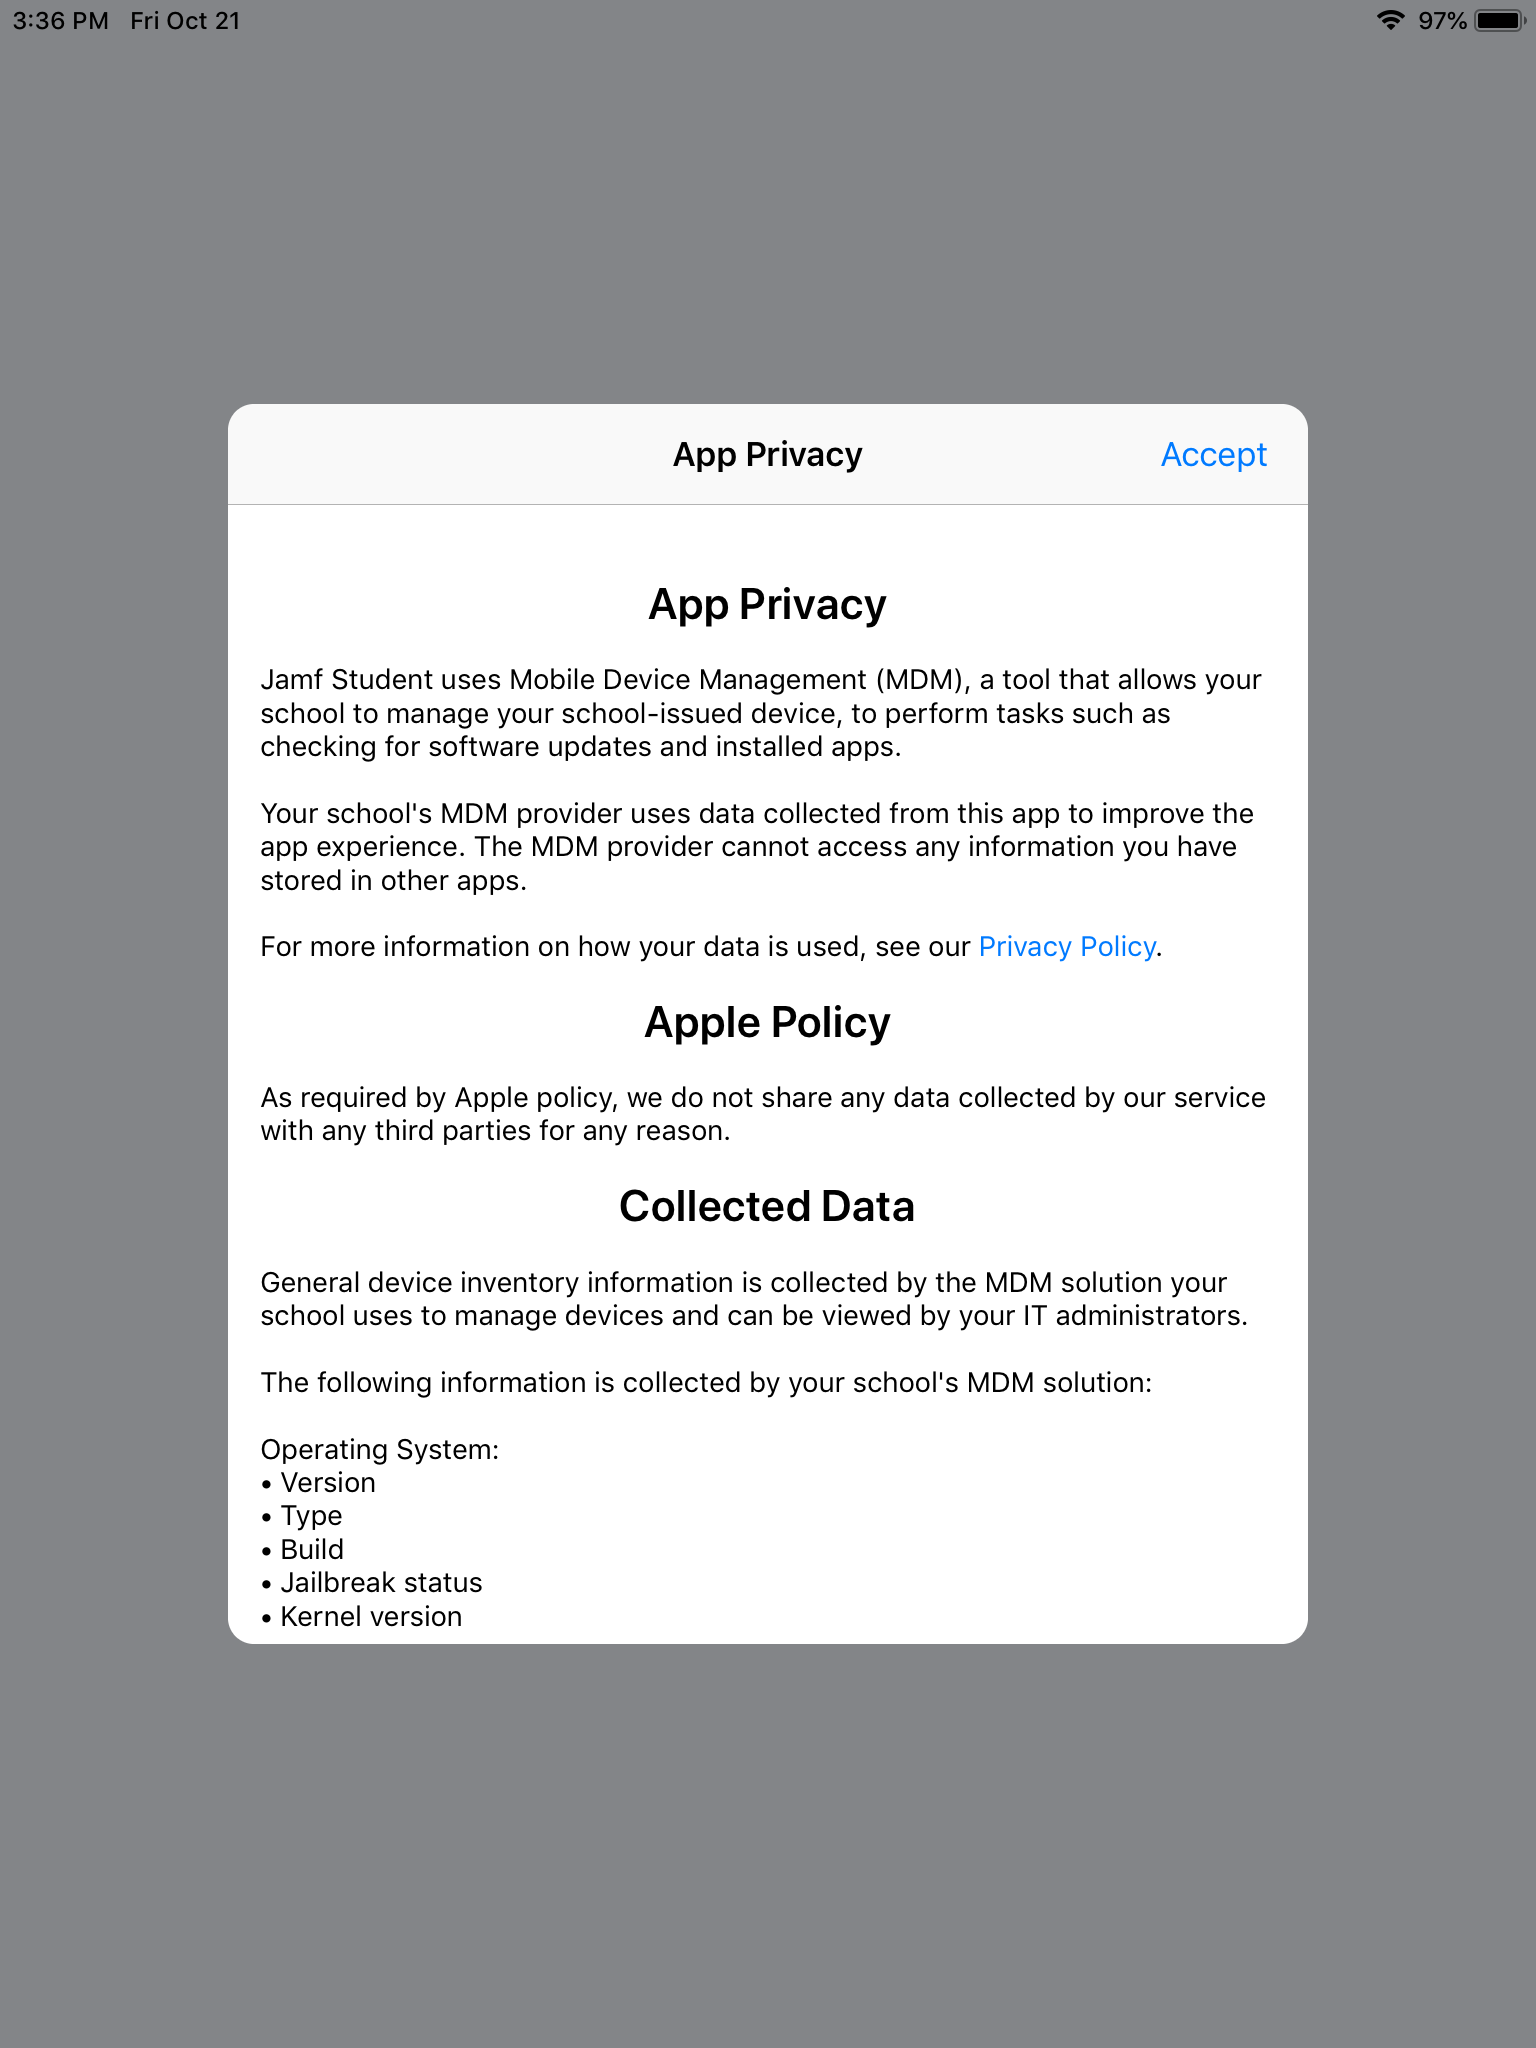
If prompted, press “Accept” in the App Privacy window
-
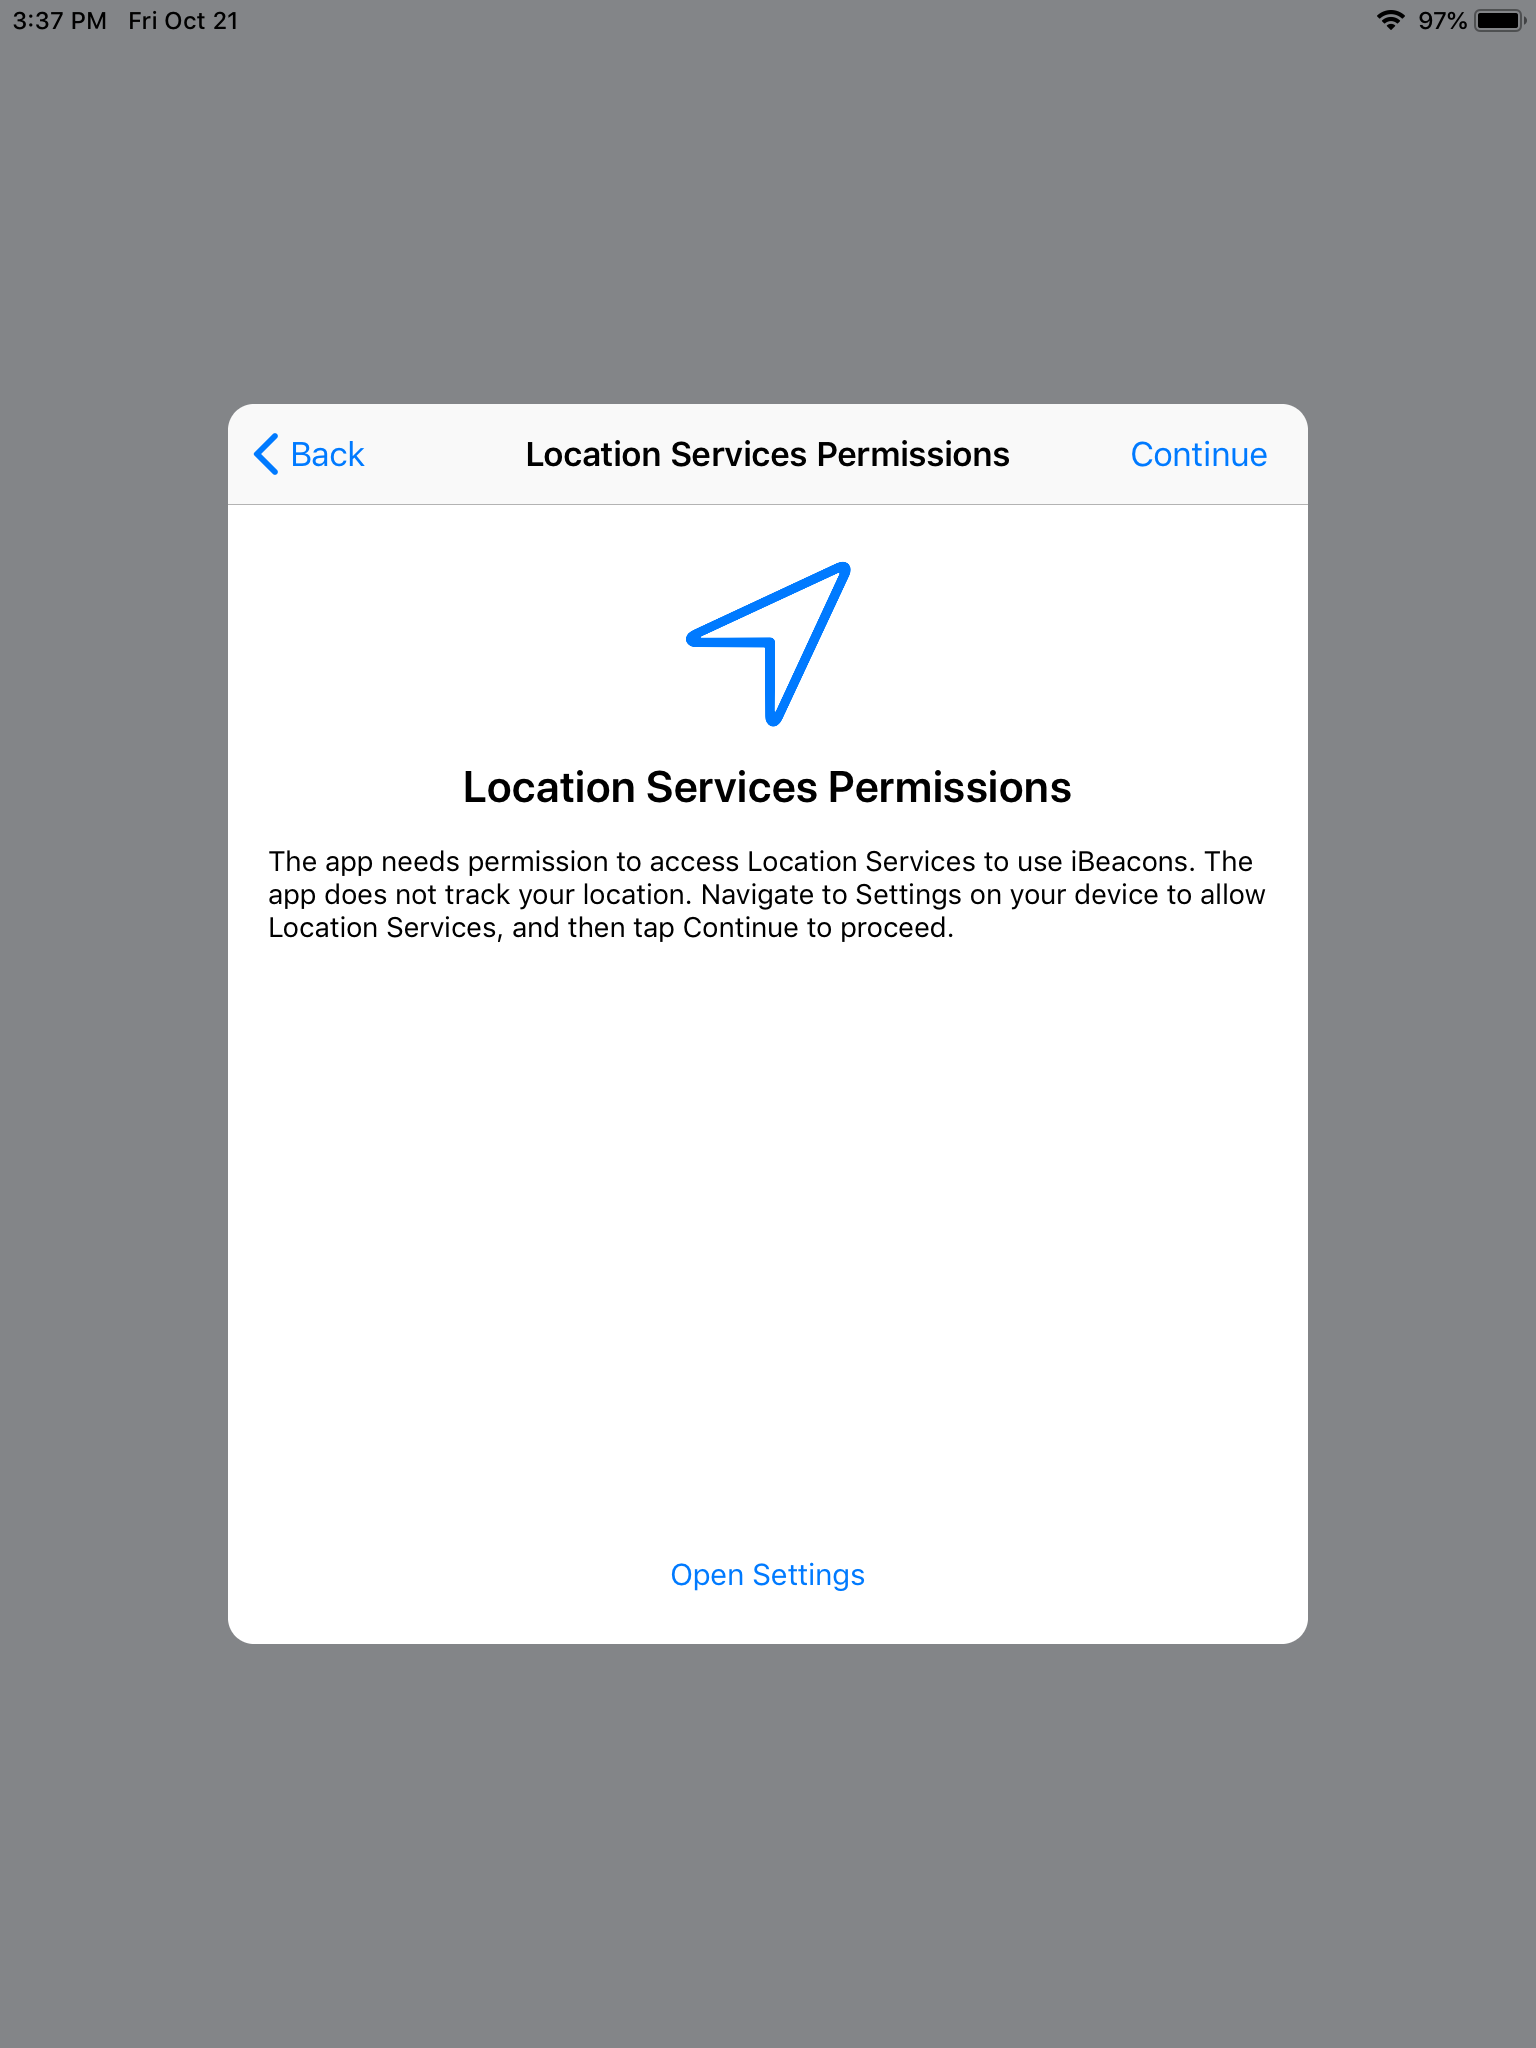
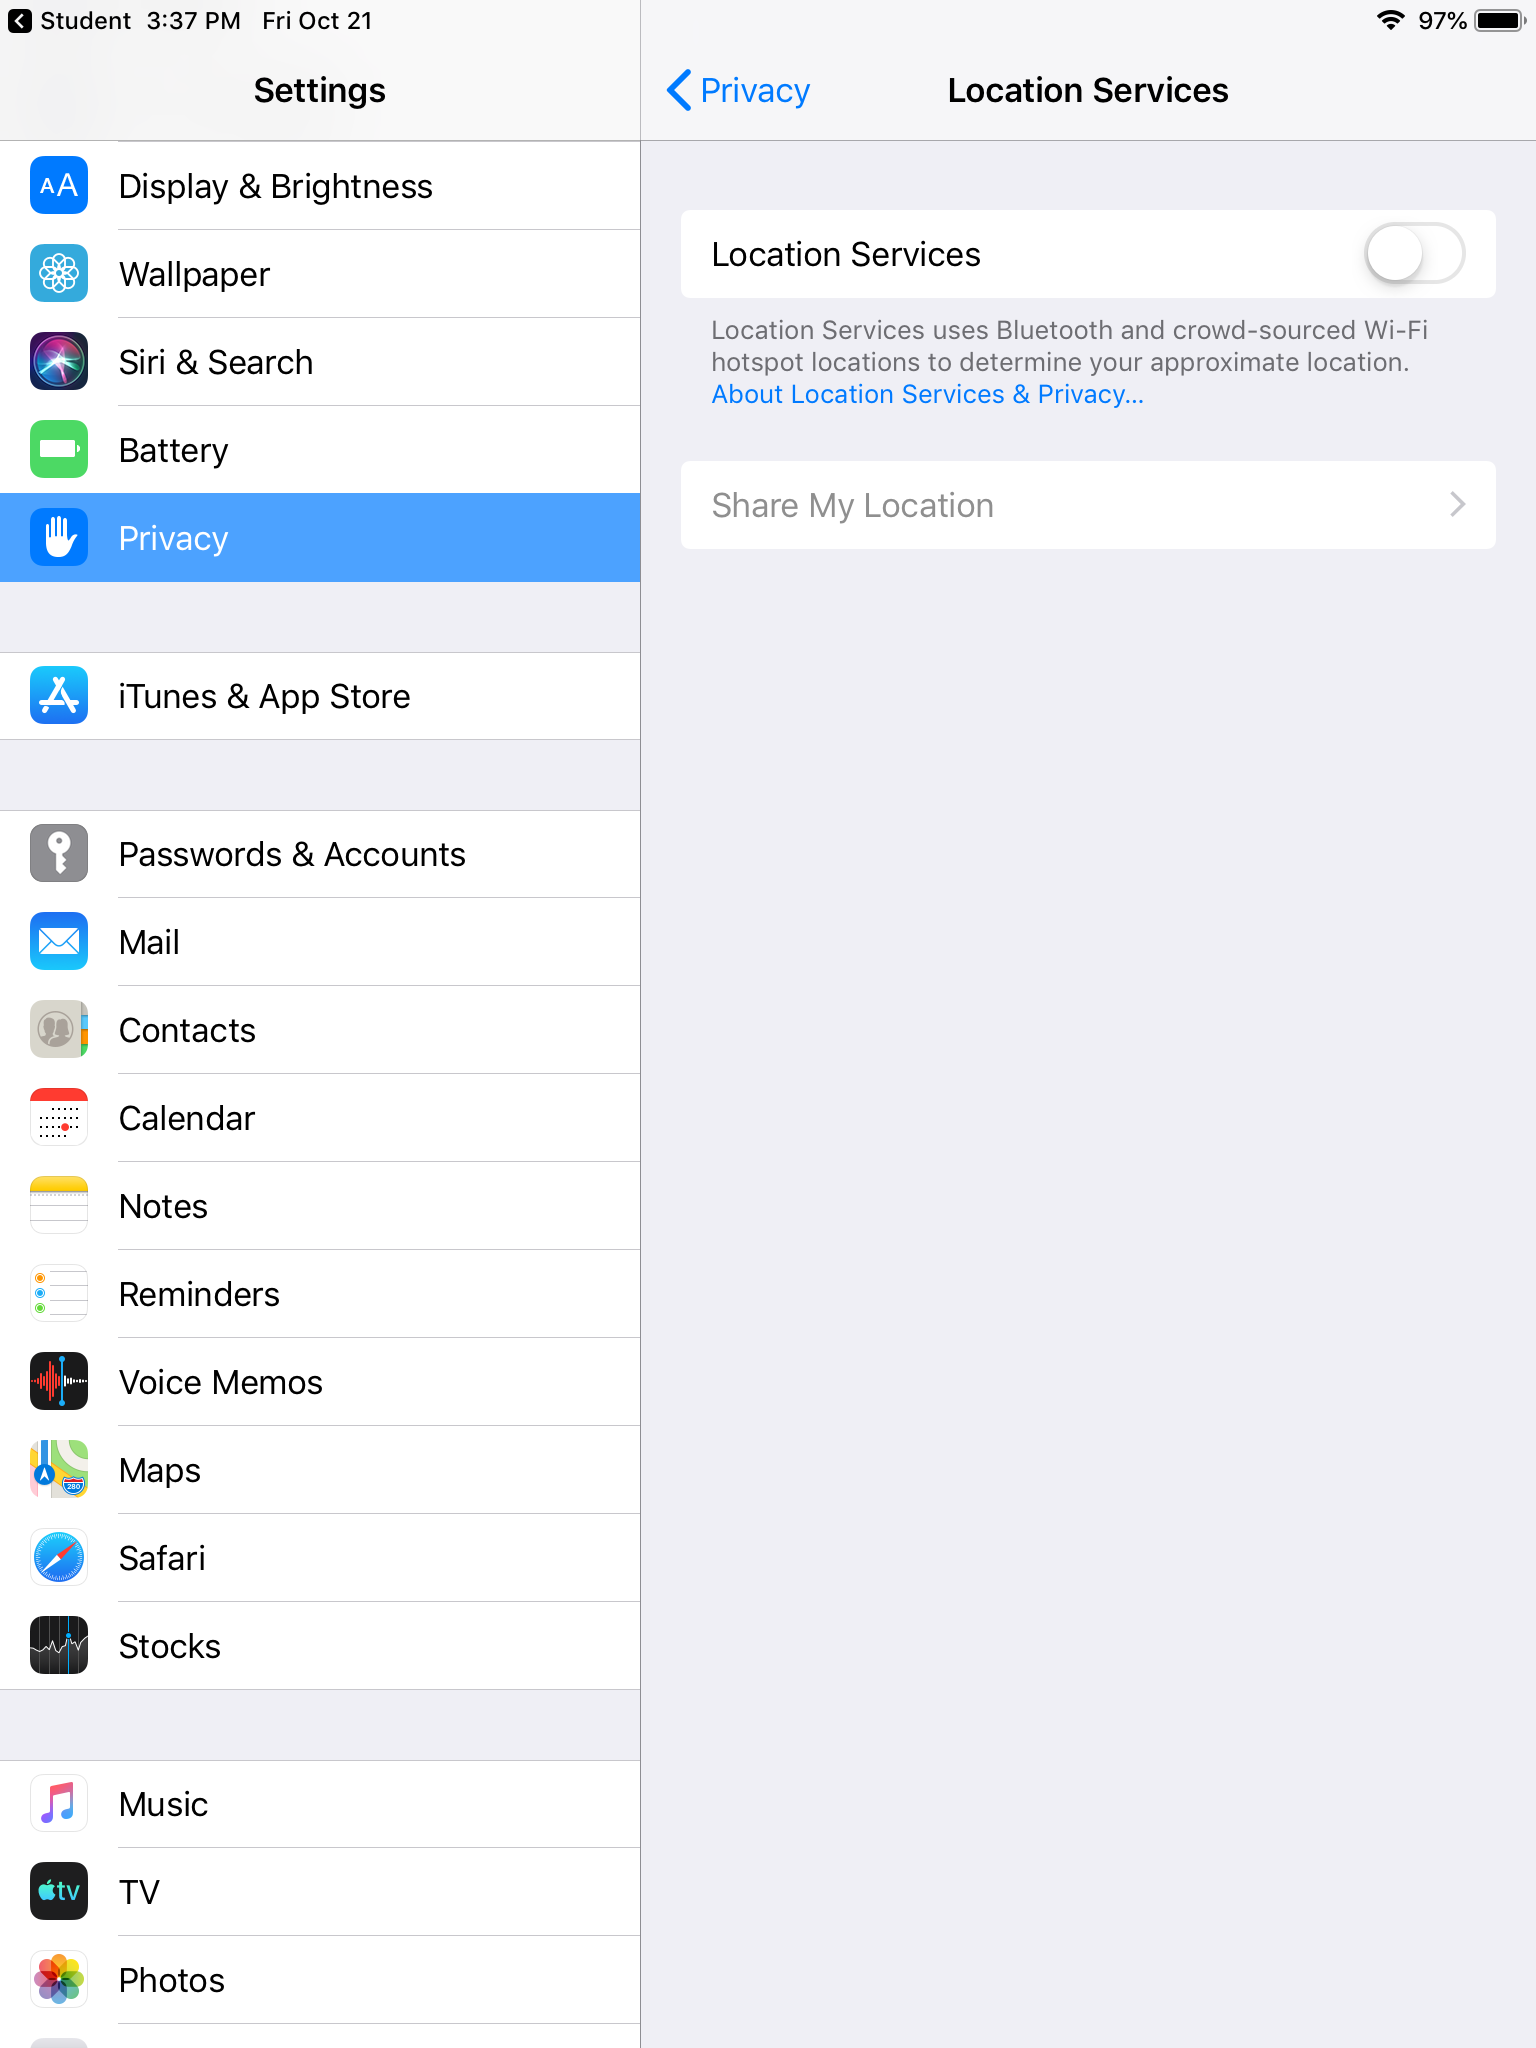
If Location access is requested, press “Continue” in the window, turn on Location Services in the page that opens, then navigate back to the Student app
-
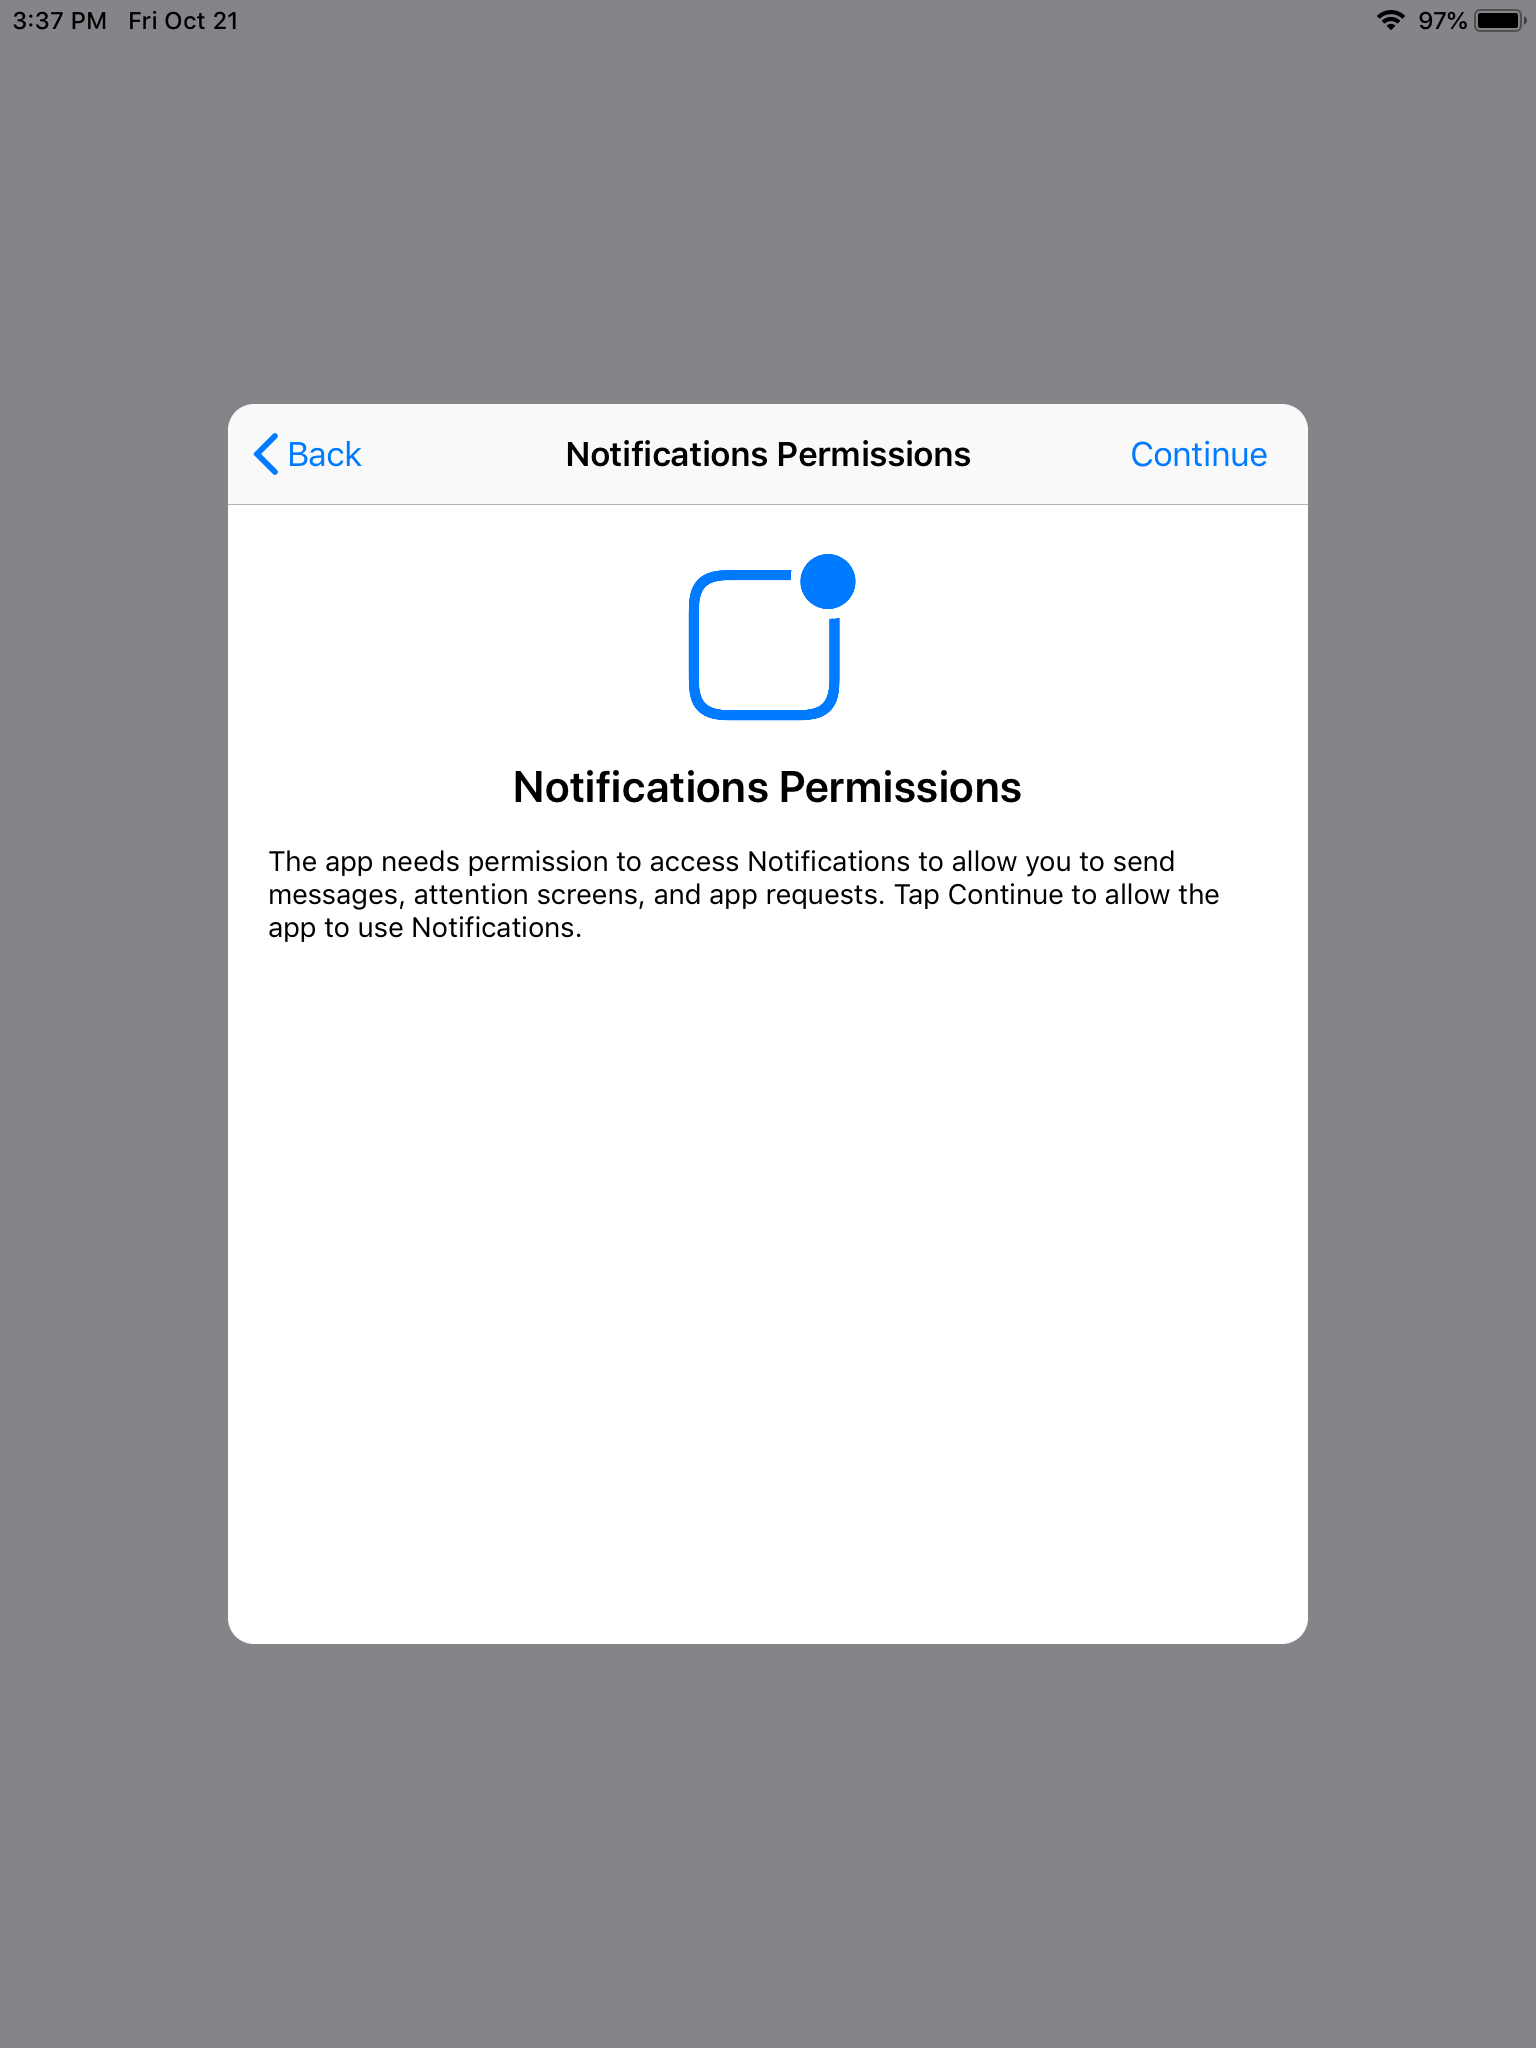
If Notifications permissions are requested, press “Continue”
-
-
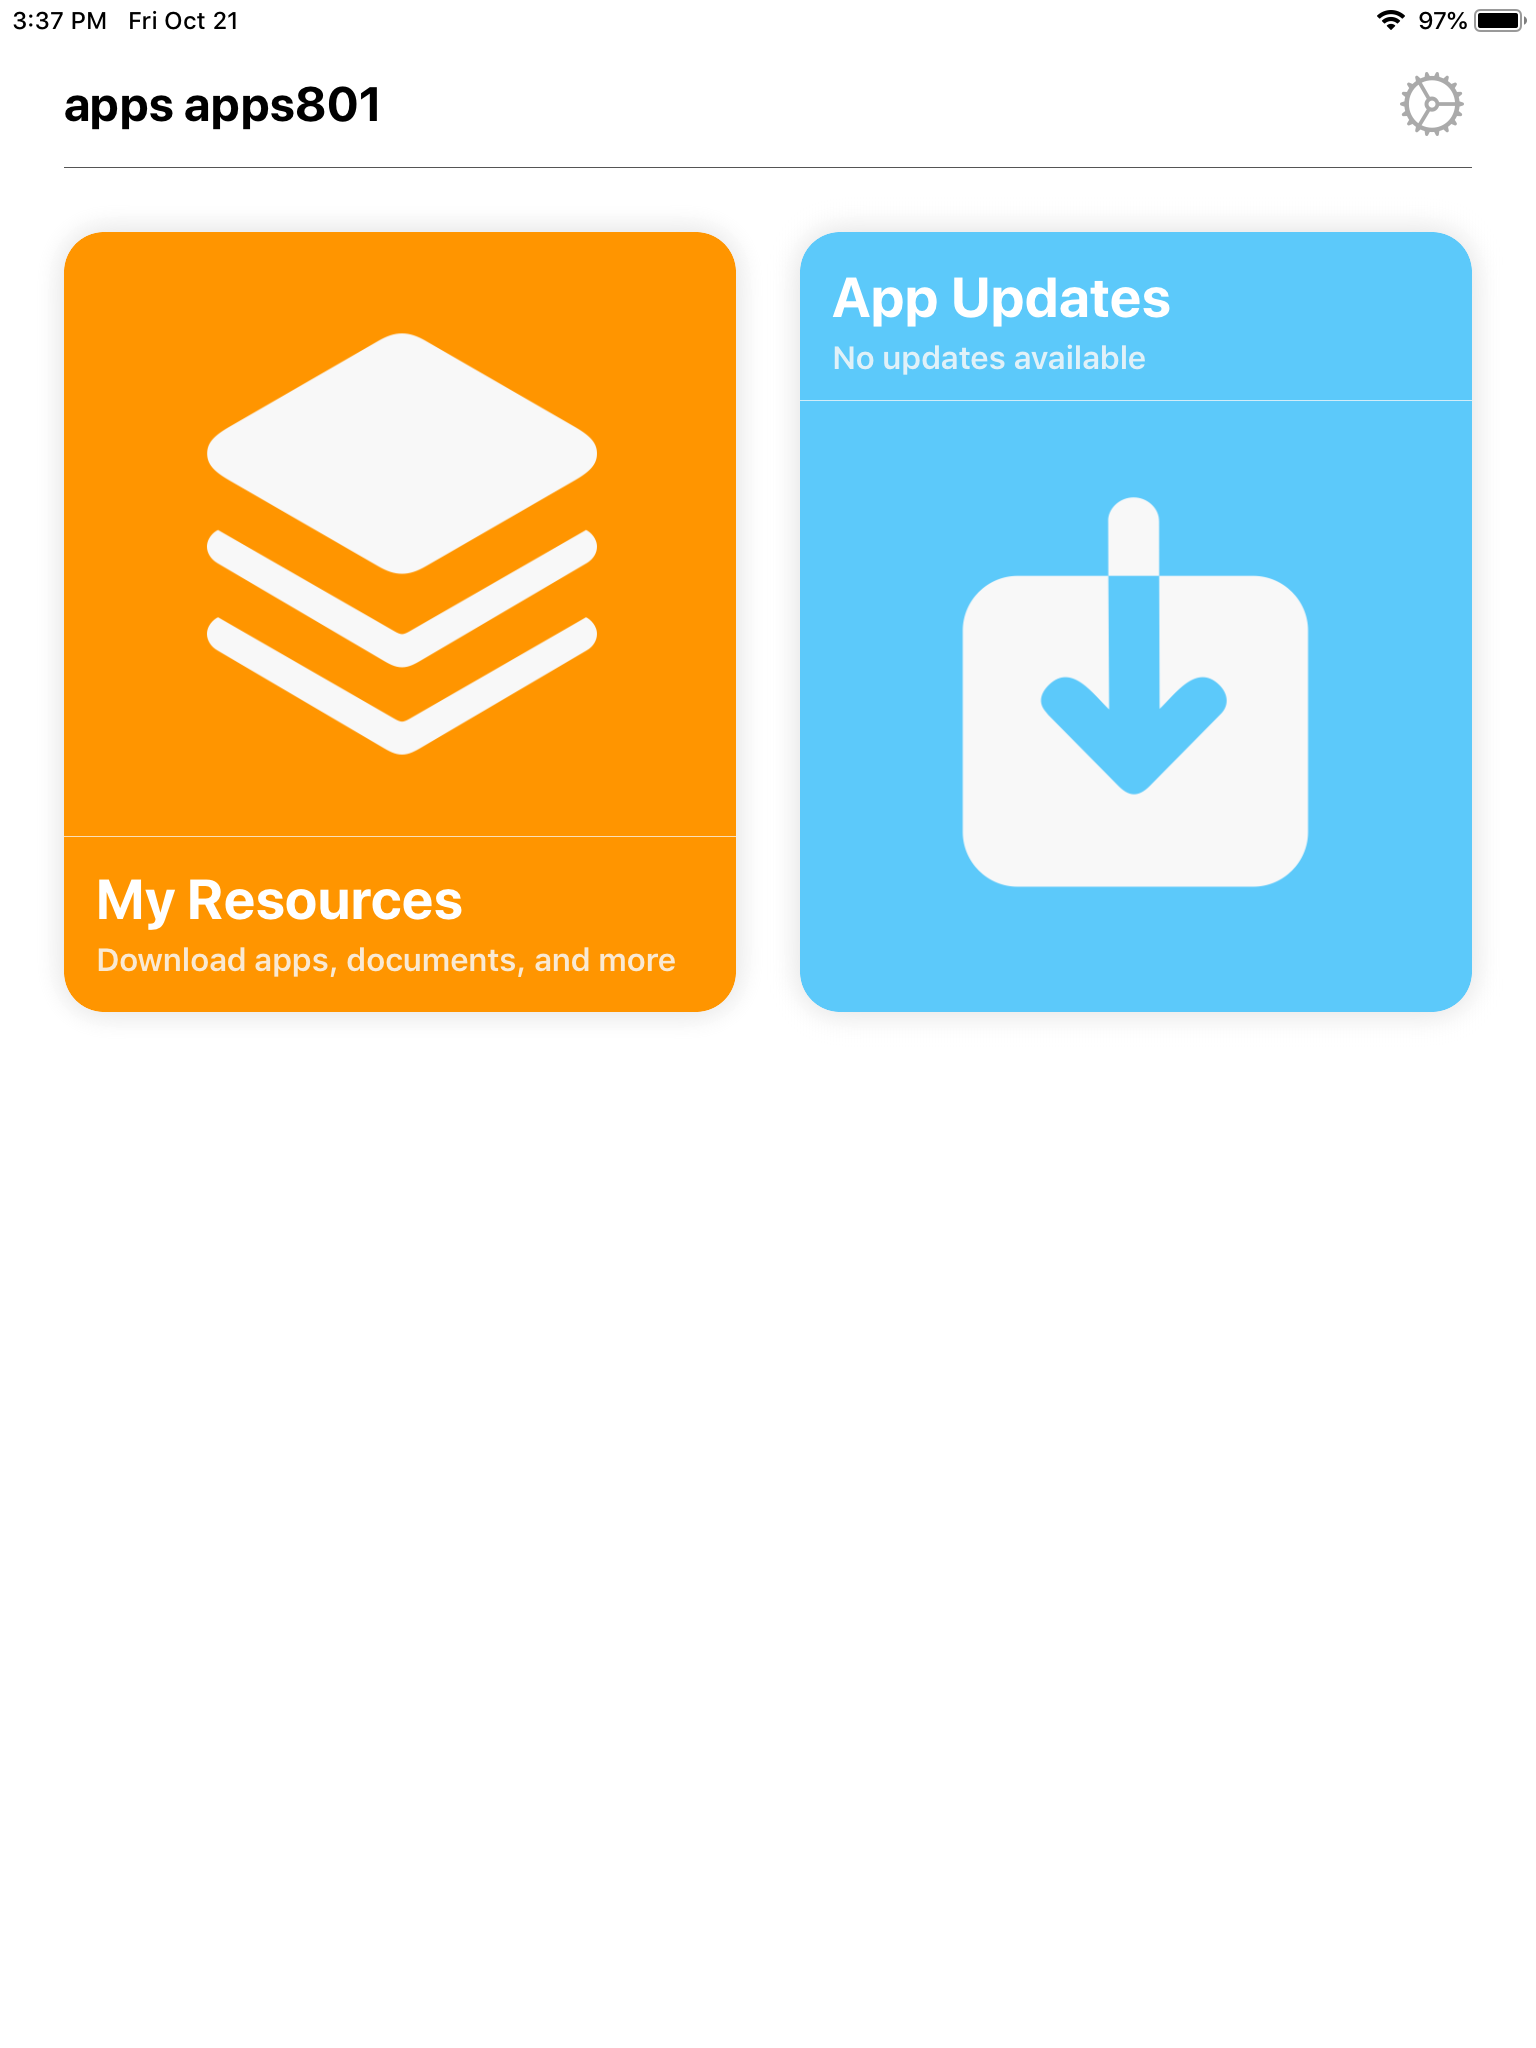
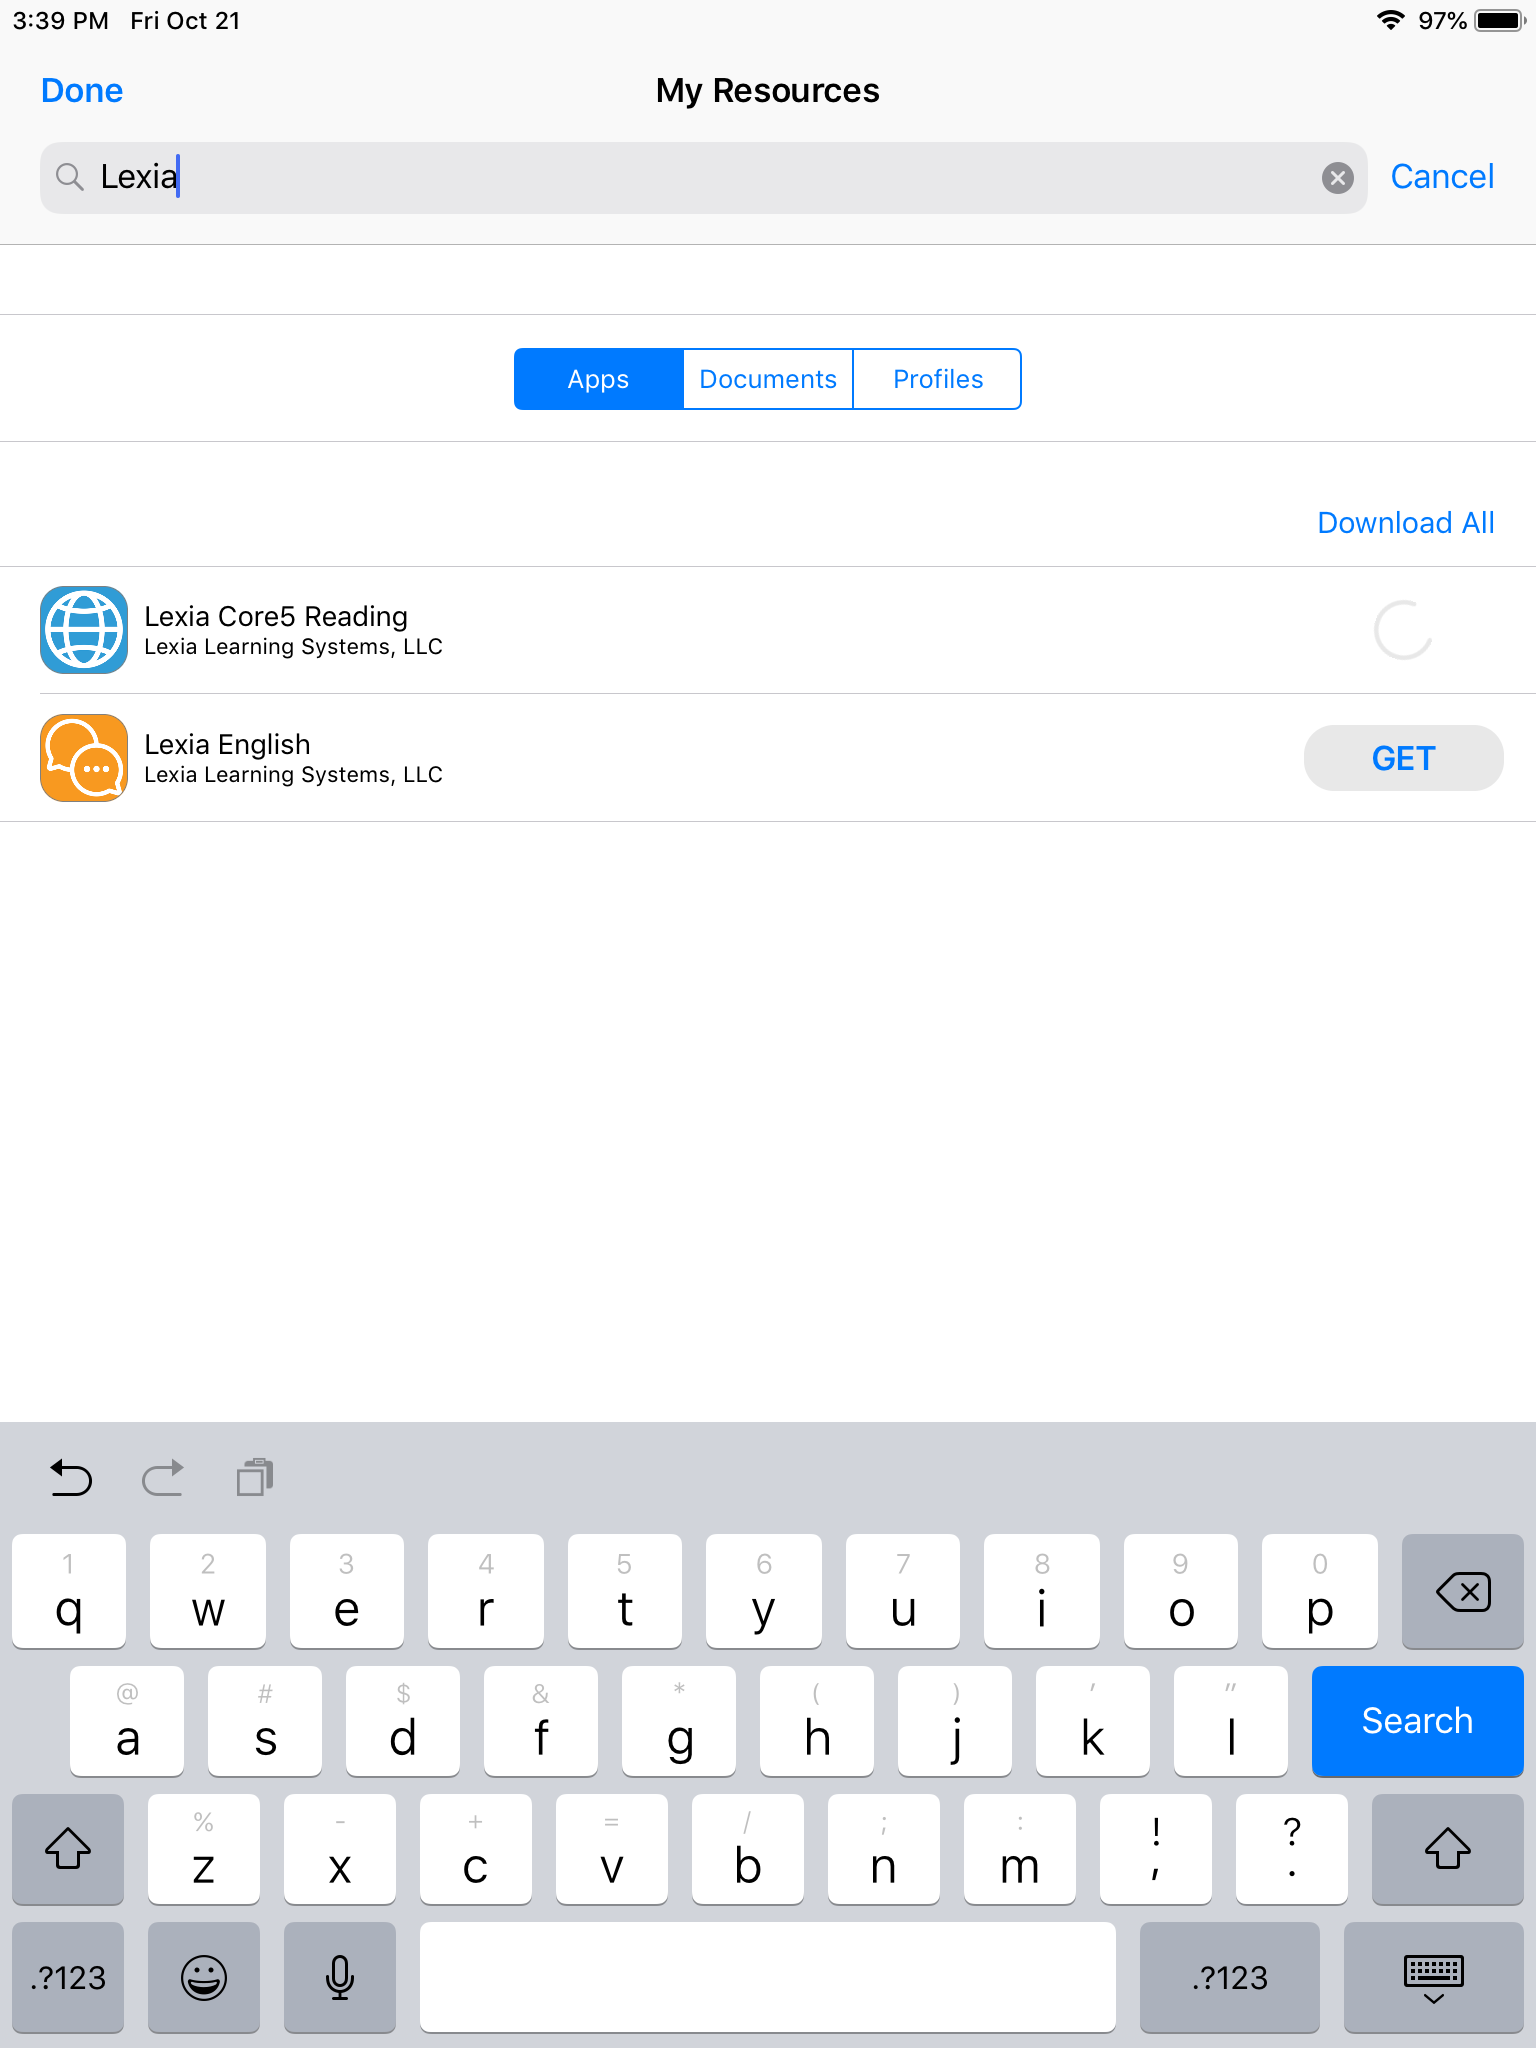
Tap on “My Resources” to open the application catalog
-
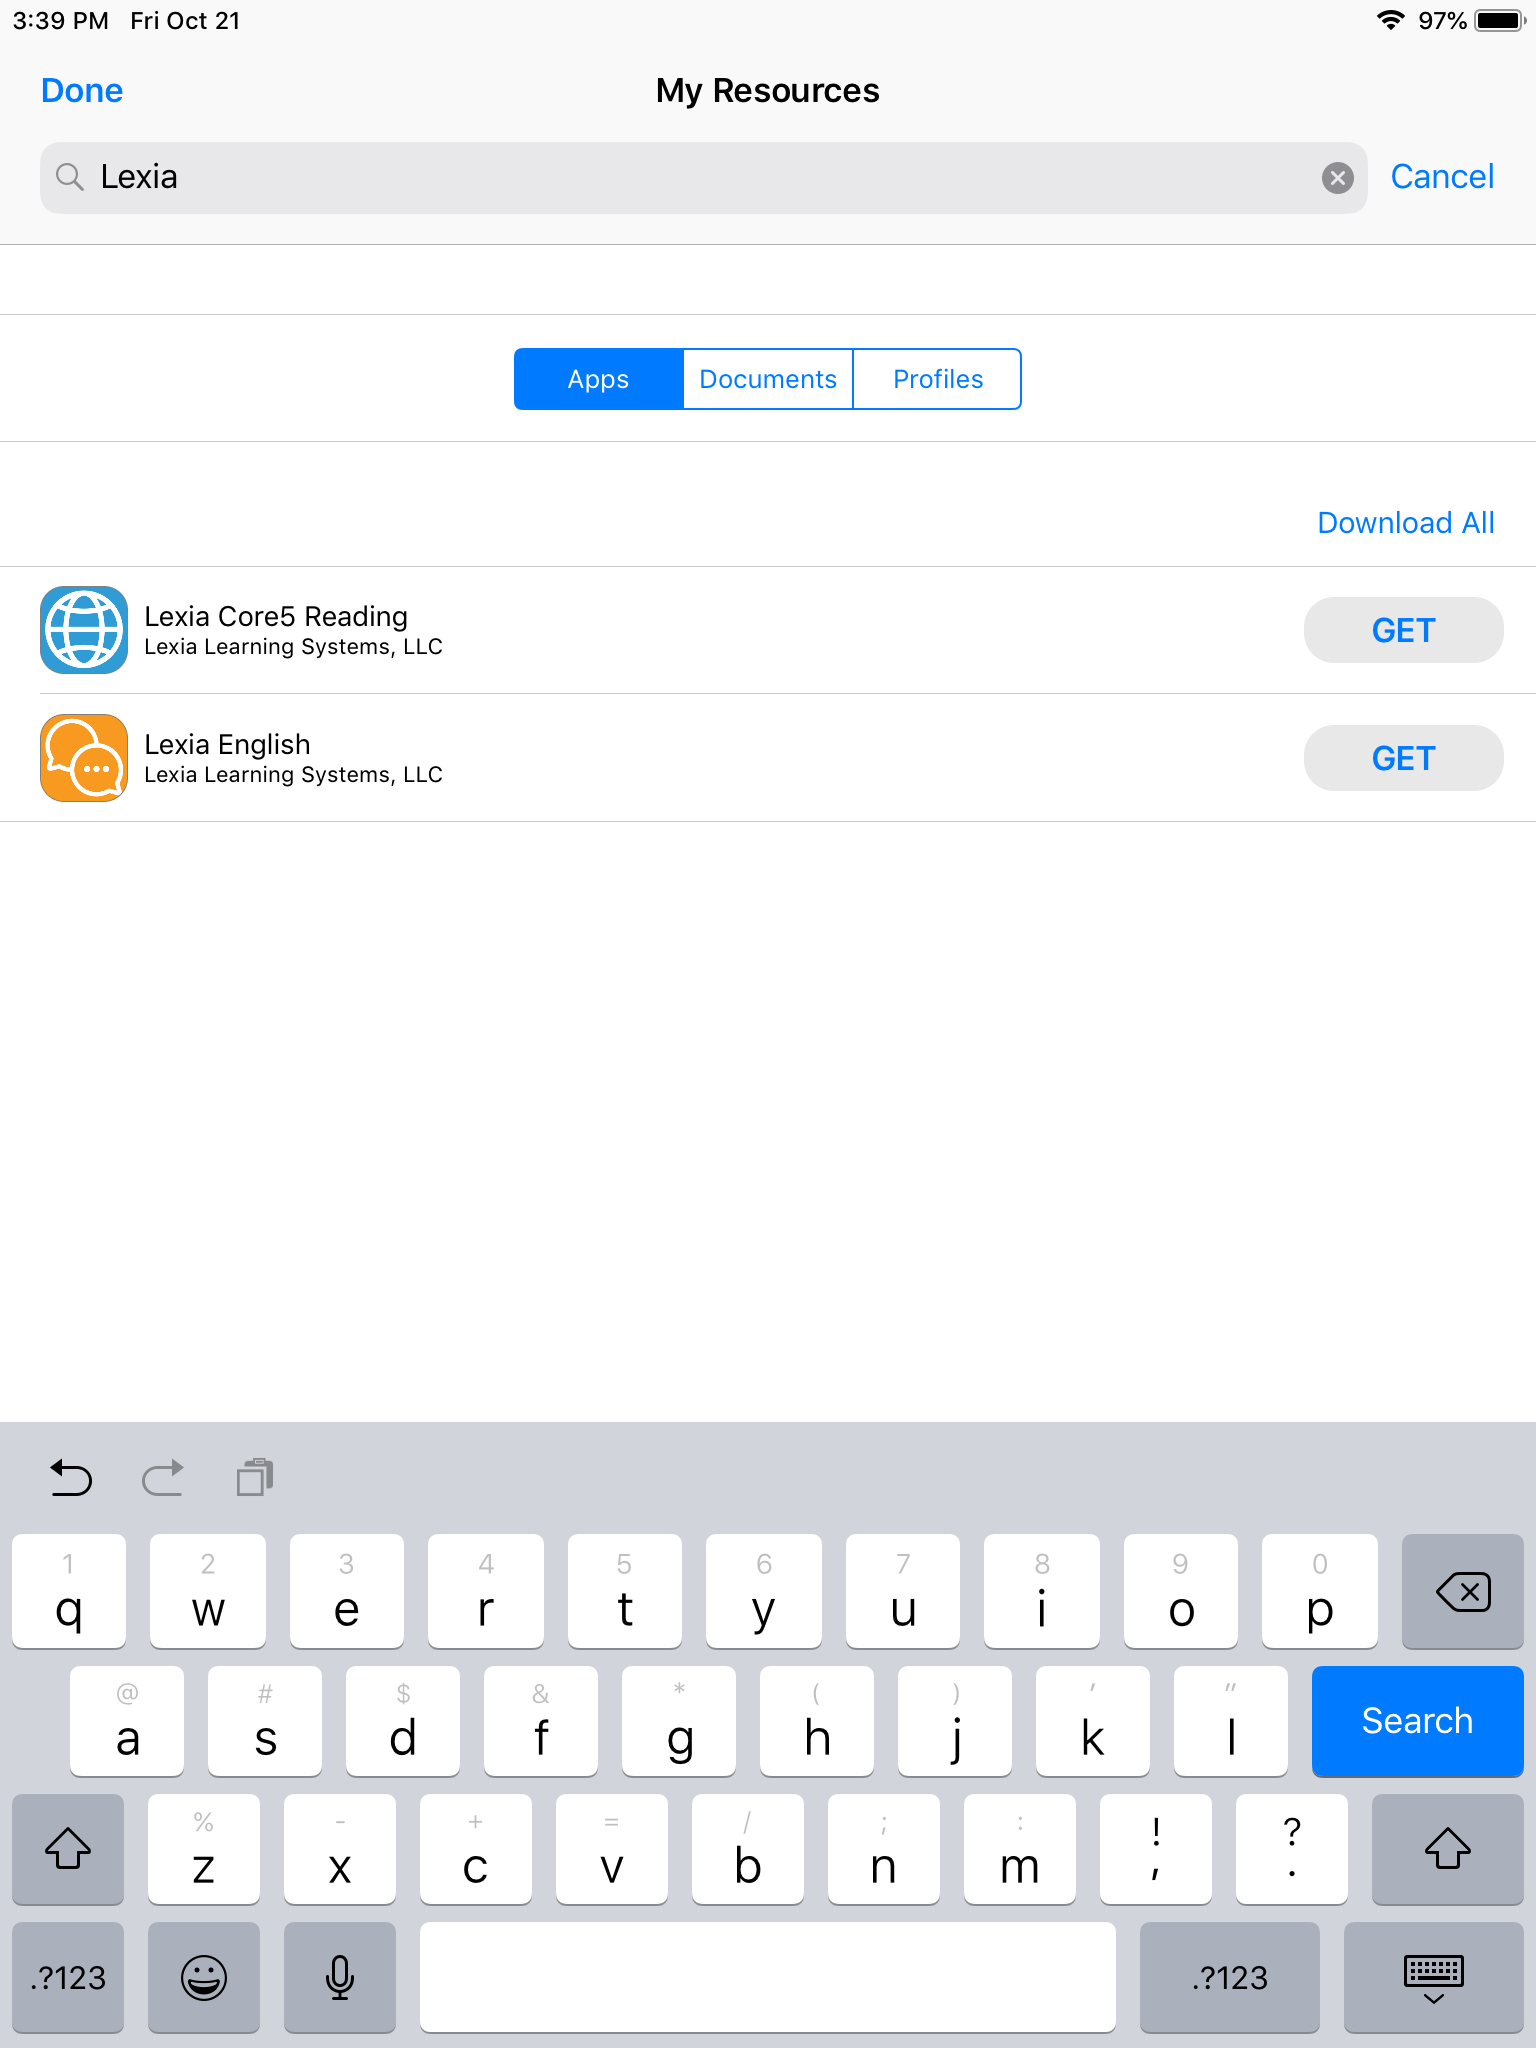
Search for the app you want to install, then press the “Get” button to begin the download process
-
You will know the app is installing when you see the spinning icon (This can take some time depending on the app and network usage, please be patient)
-
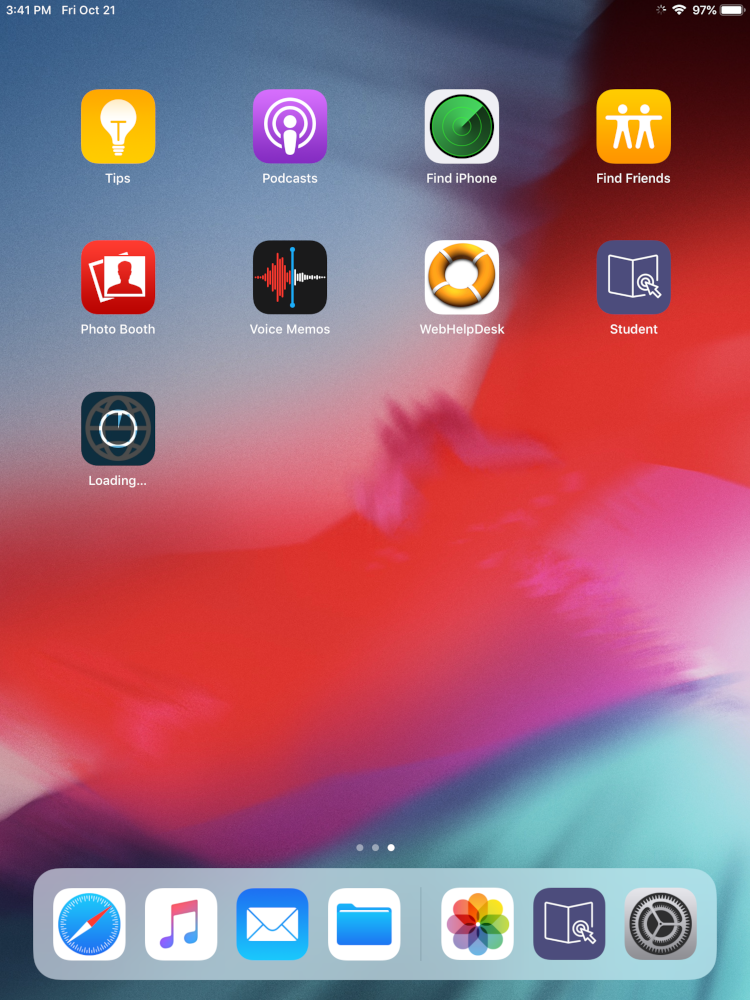
You can view install progress by going back to the iPad’s home screen and watching for the filling up circle on the downloading app
-
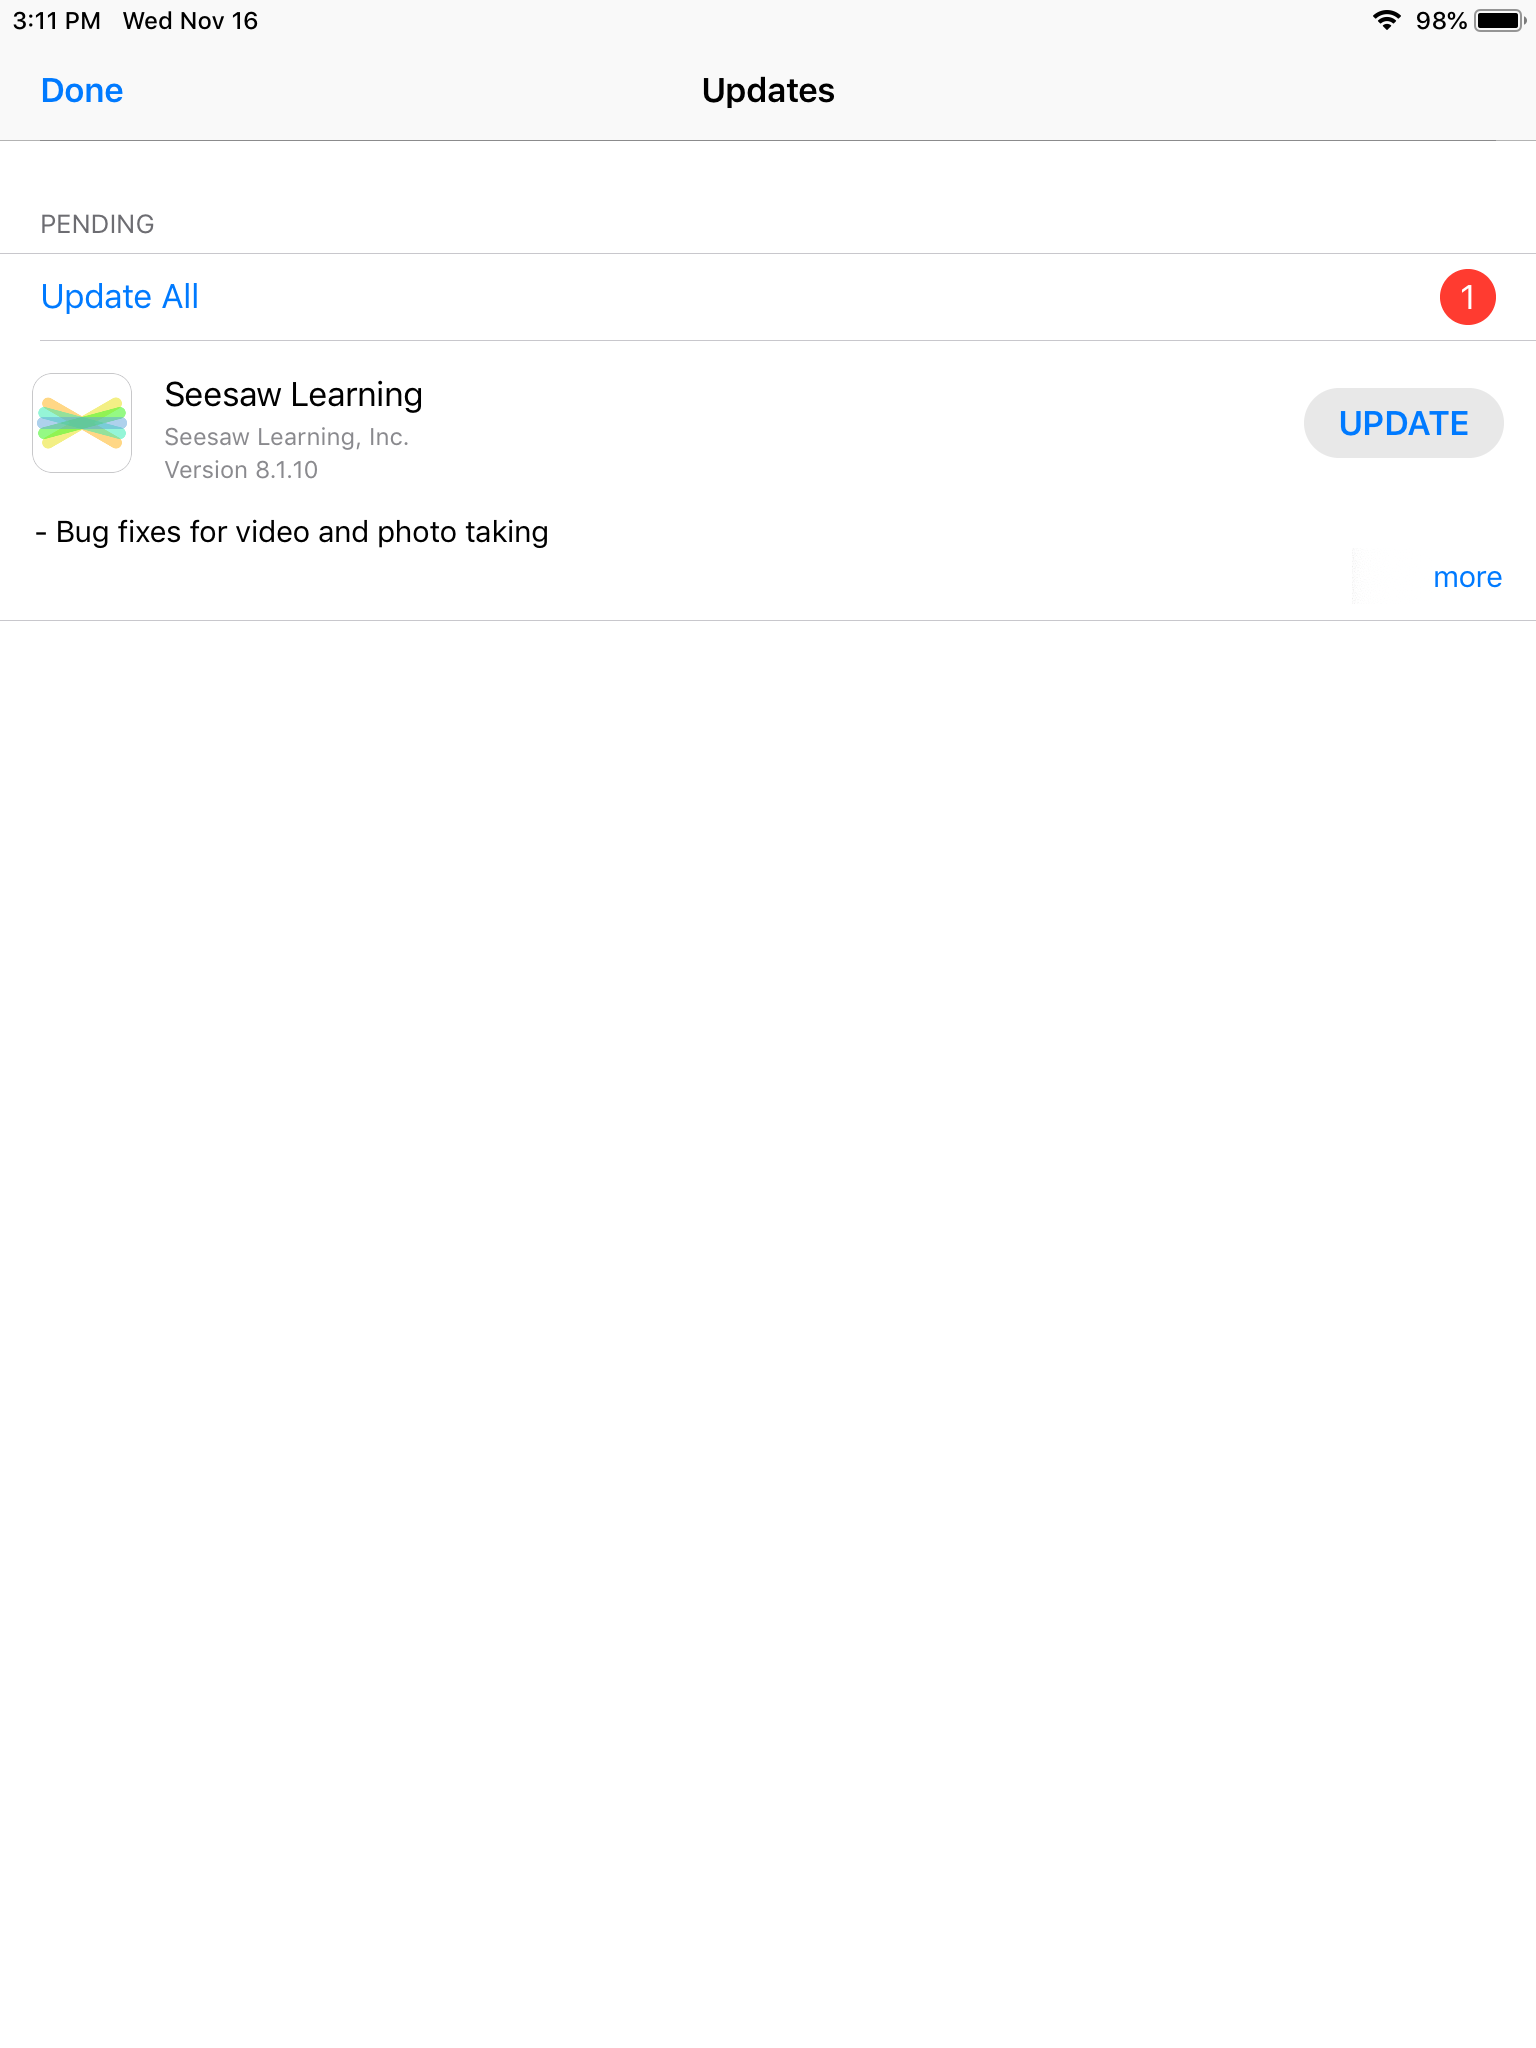
Updating Apps
-
Open the “Student” app
-
Tap on “App Updates”
-
Press “Update All” in the upper-left of the “Pending” updates list