Adding Managed Printers
- Download the Papercut Print Deploy Client for your operating system: Windows / macOS
- Run the install file and follow the prompts, selecting Allow if/when prompted
- Close the installer once complete
-
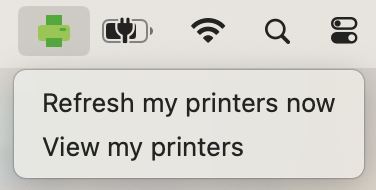
In the taskbar (top on macOS, bottom on Windows) find the Print Deploy Client icon
- macOS Example:
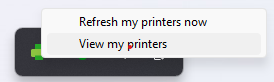
- Windows Example:
- macOS Example:
- Select ‘View my printers’
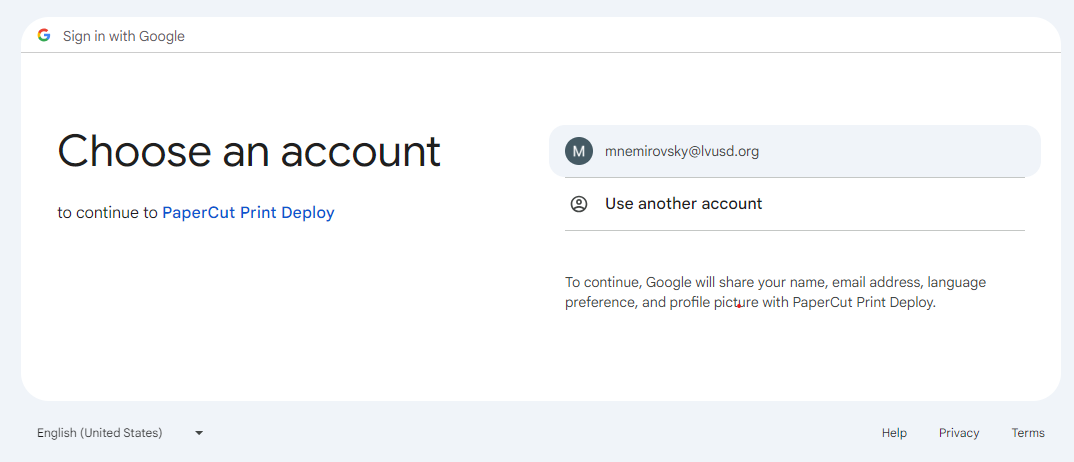
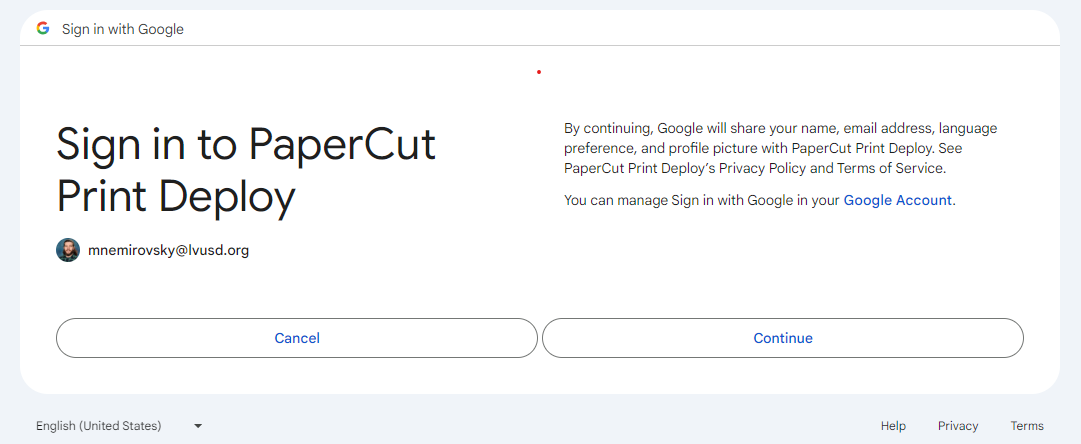
- At the sign-in window, select ‘Sign in with Google’
- Chrome browser should open automatically to an account selection screen
- Choose your LVUSD google account from the list, then press ‘Continue’
- If ‘Sign in with Google’ does not open a login window, cancel the process and login manually using your LVUSD username and password
-
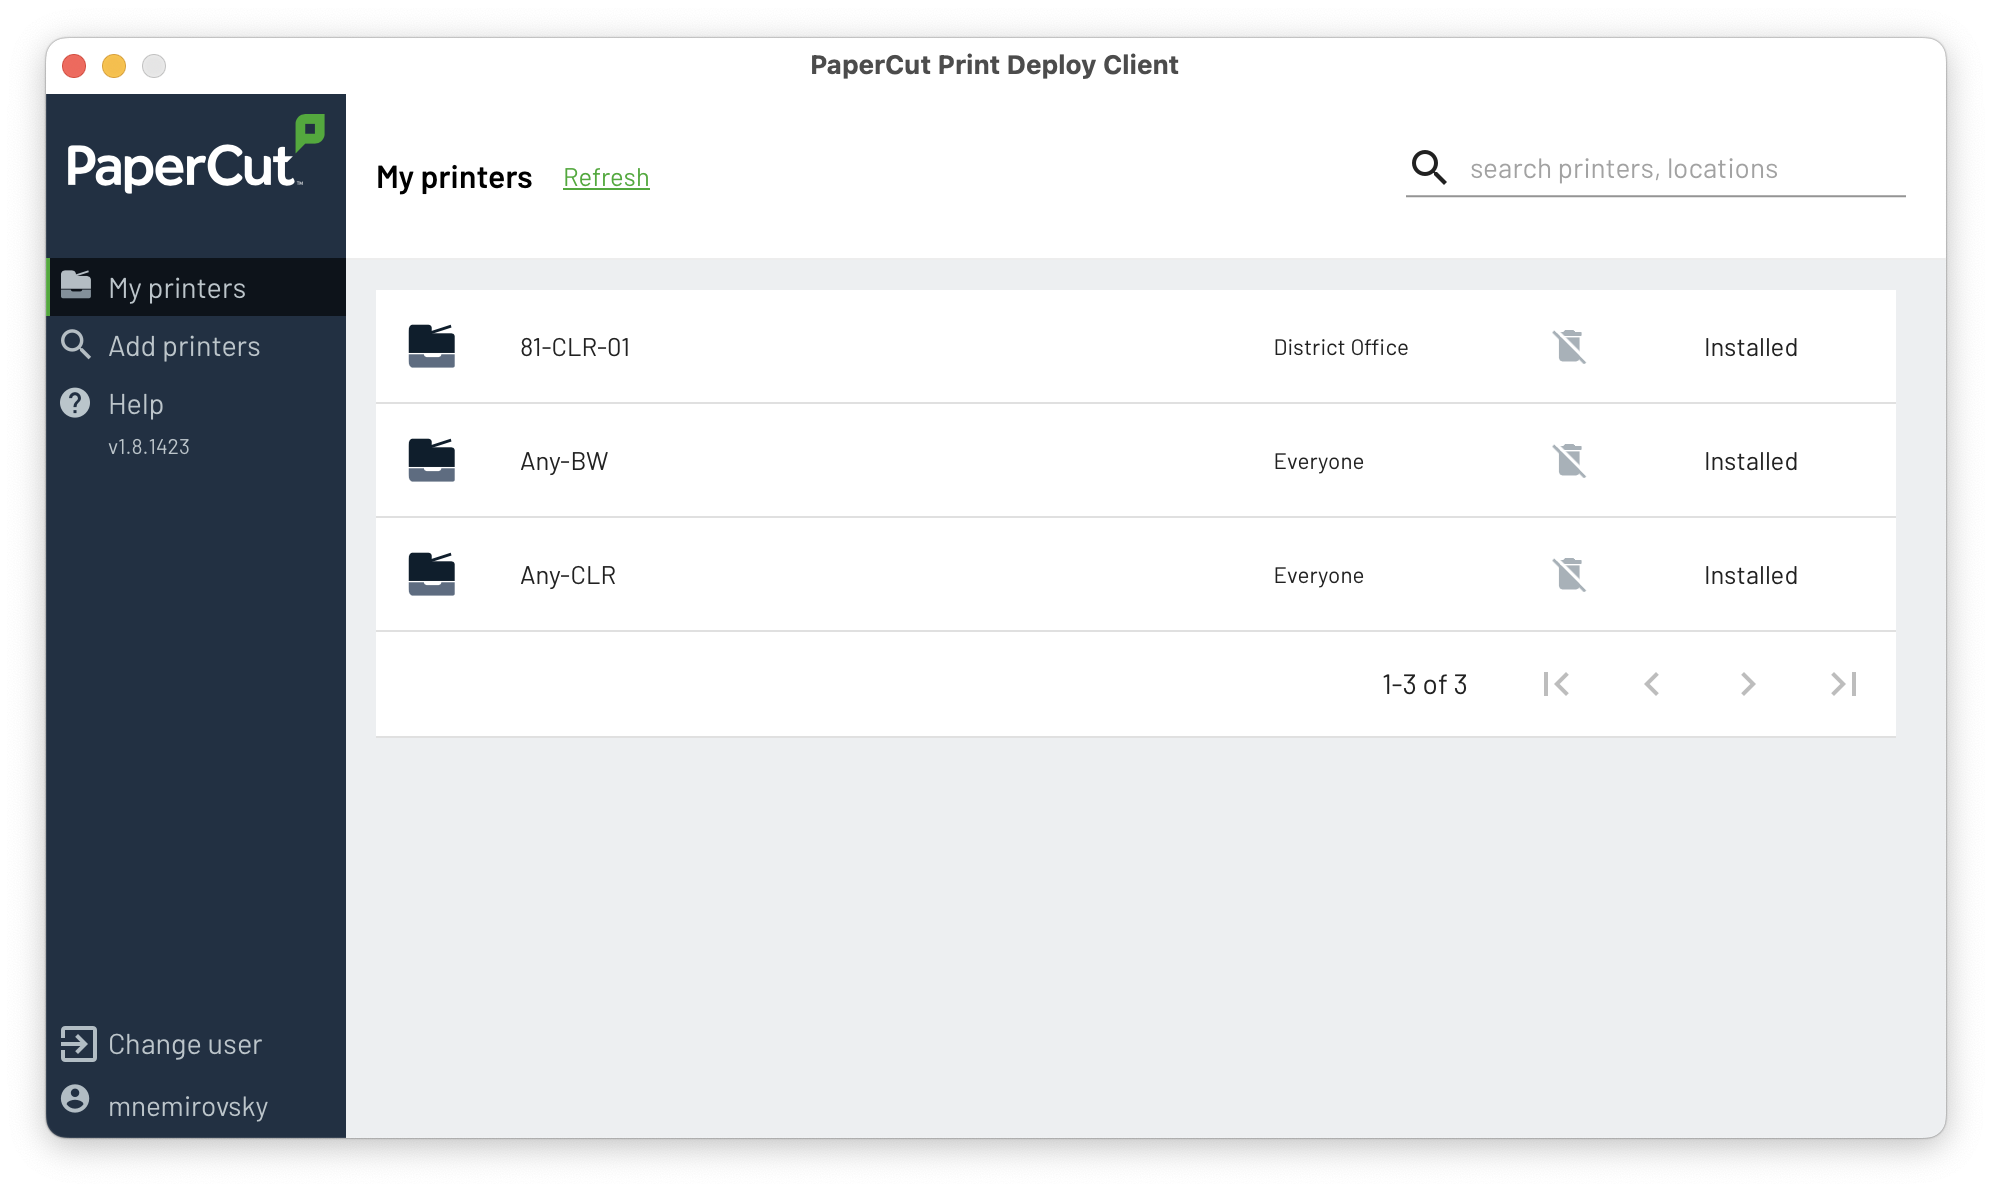
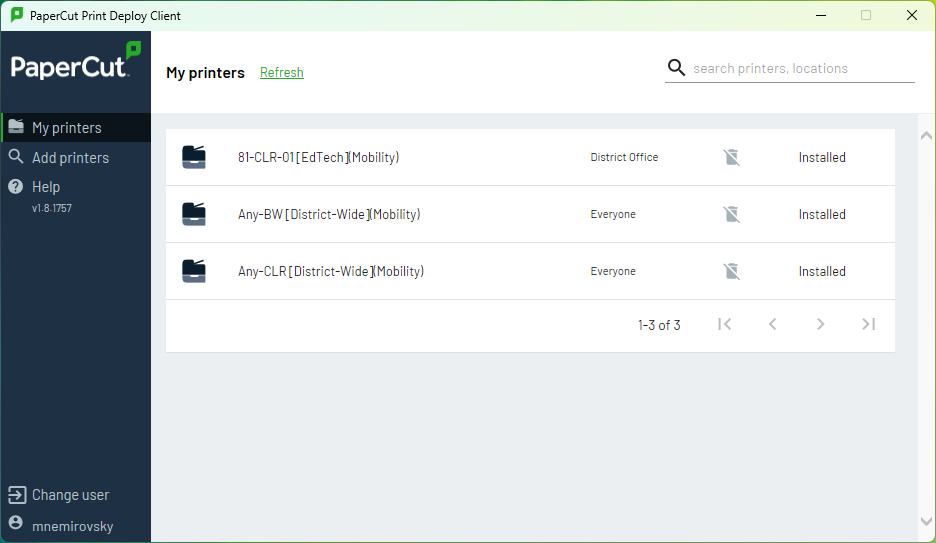
Printers assigned to you should automatically install
- macOS Example:
- Windows Example:
- macOS Example:
Adding Optional Printers
-
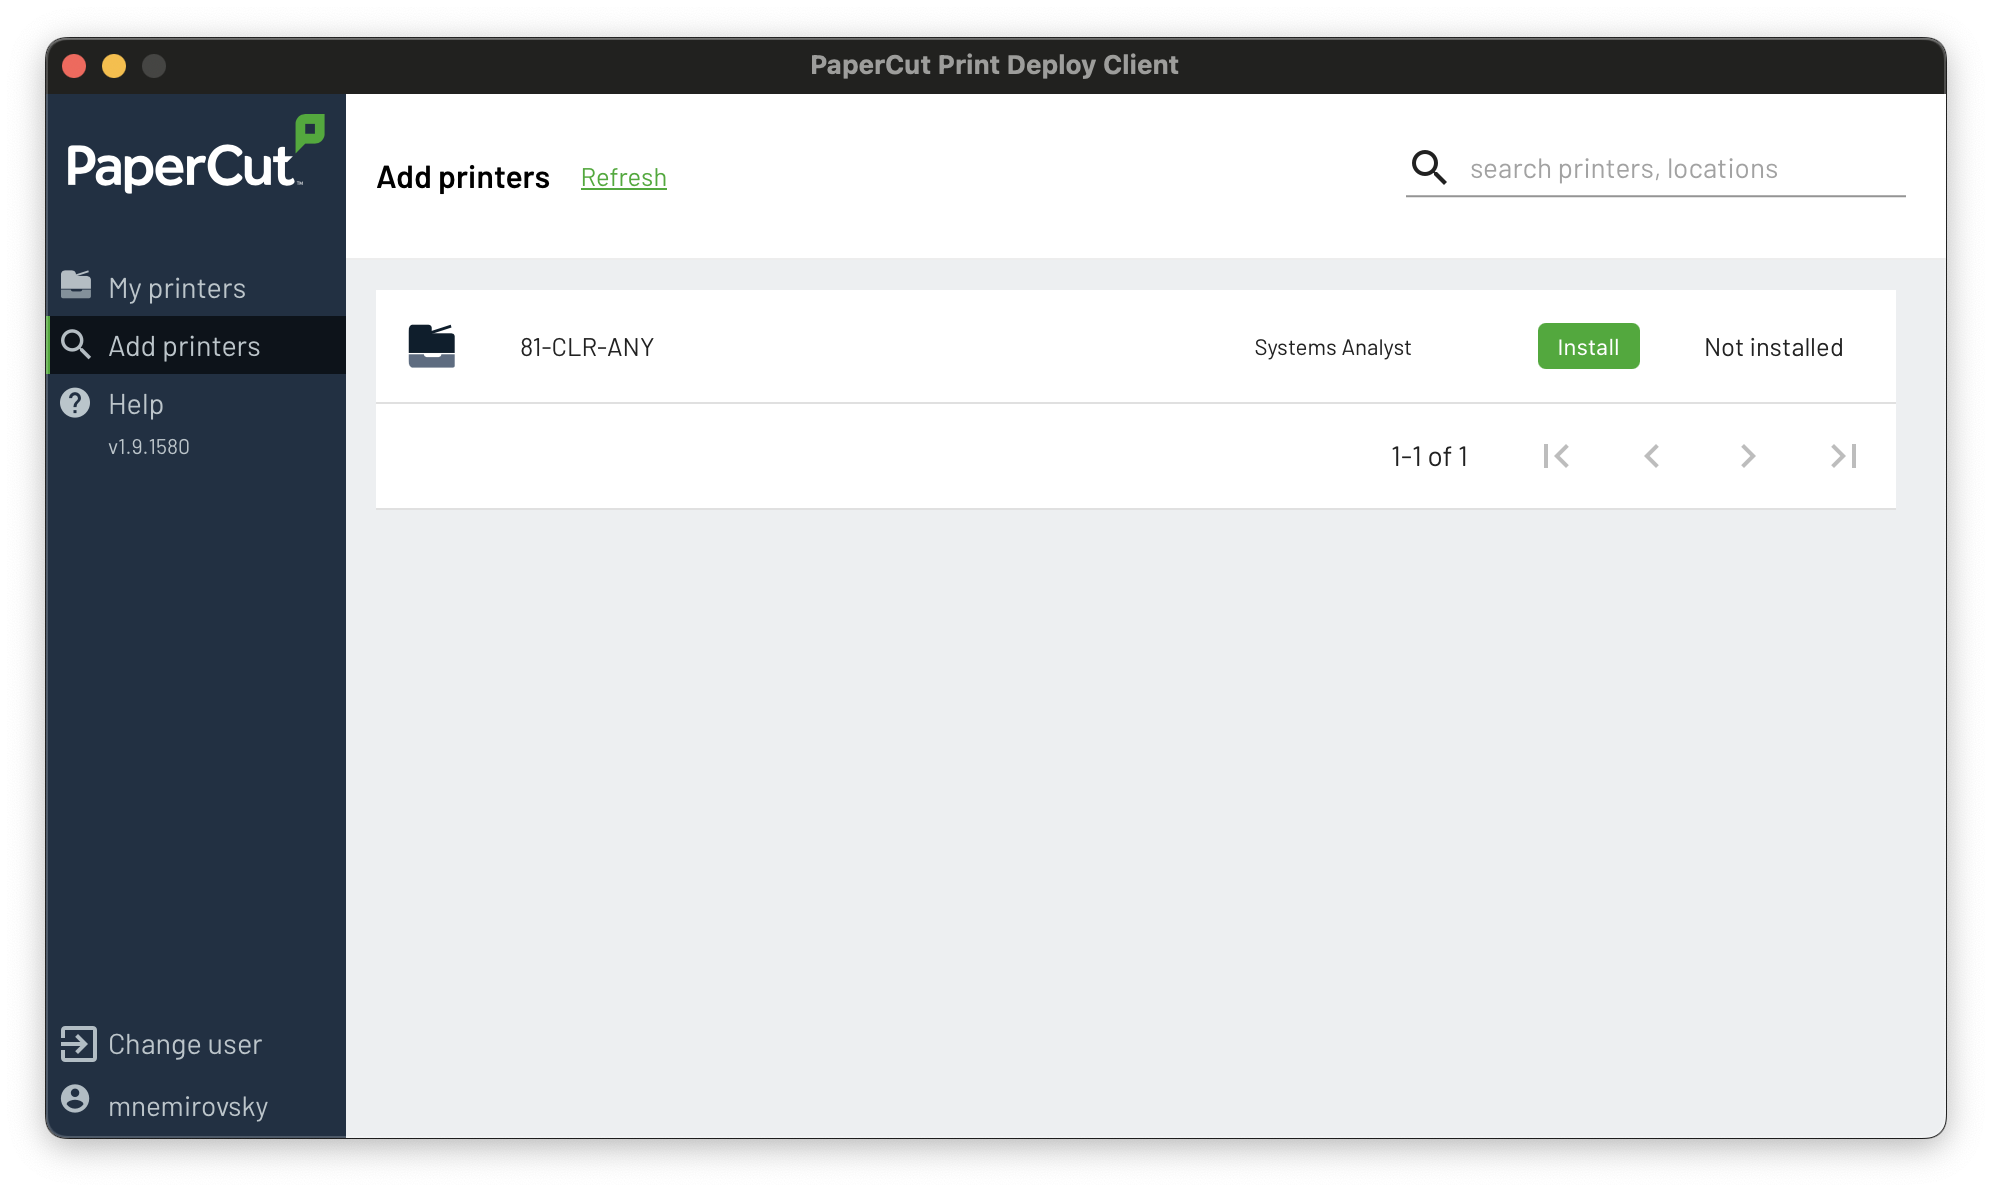
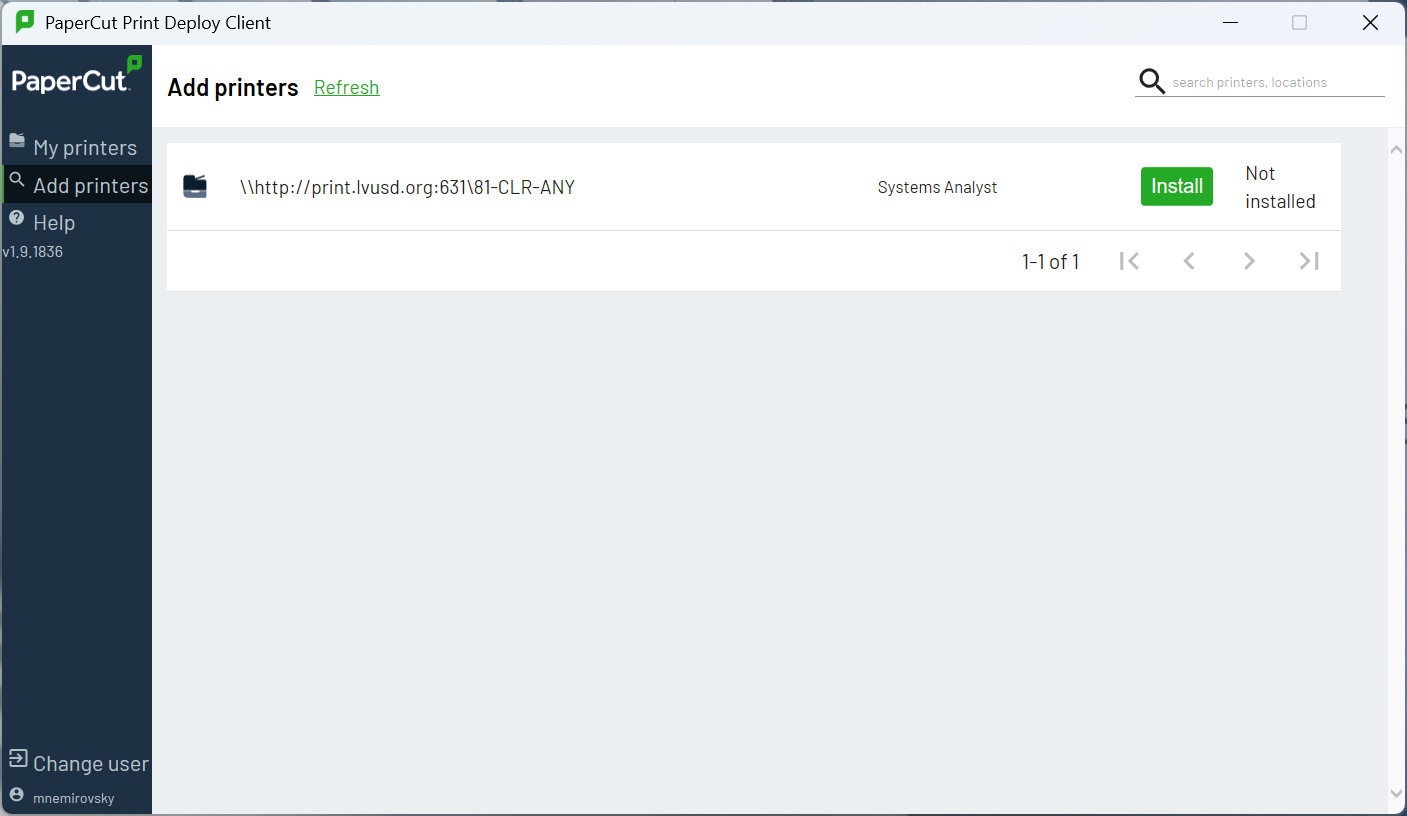
If you have optional printers available to you, they will be listed under ‘Add printers’
- macOS Example:
- Windows Example:
- macOS Example:
Adding Printers to a Mobile Device
Android
- Visit Mobility Print - Android for the latest version
- Press “Install or update” under Step 1
- Follow Step 2 if you are prompted to open Mobility Print
iOS
- Visit Mobility Print - iOS for the latest version
- Press “Download” under Step 1
- Follow Step 2 to install the Papercut Mobility Print Profile